Maverick II - User Manual
This step-by-step guide shows how to rig and fine-tune your Unifiber Maverick II sail.
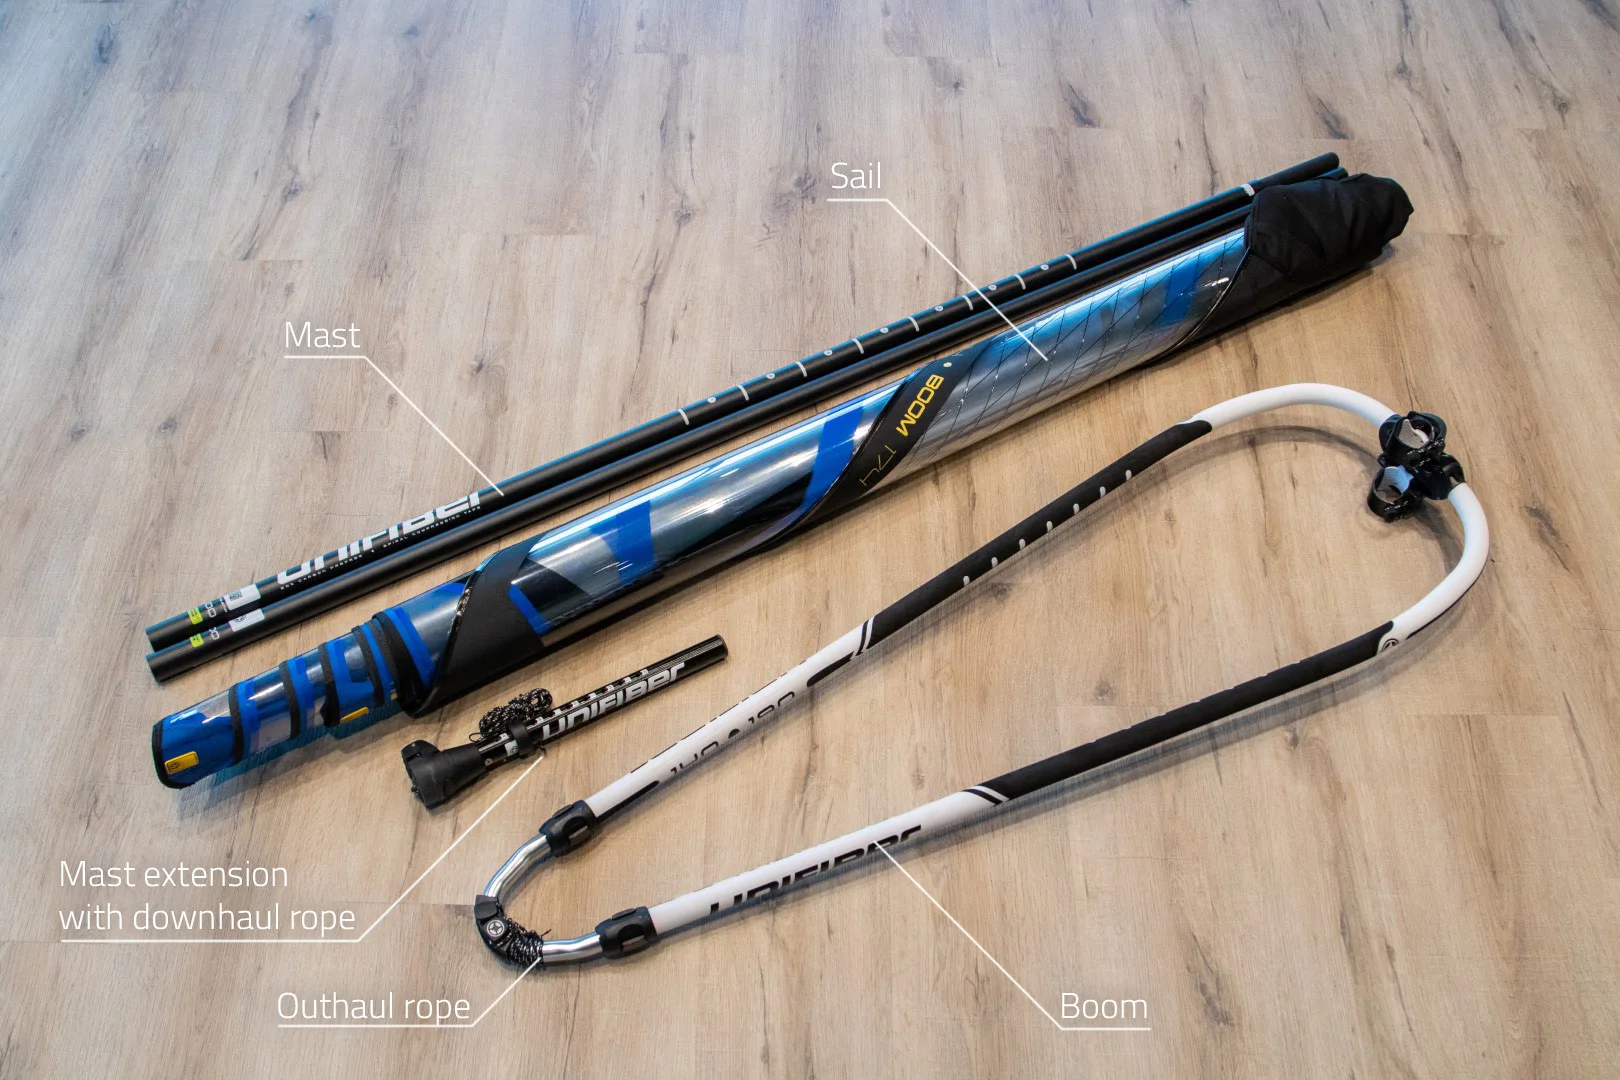
Rig Components:
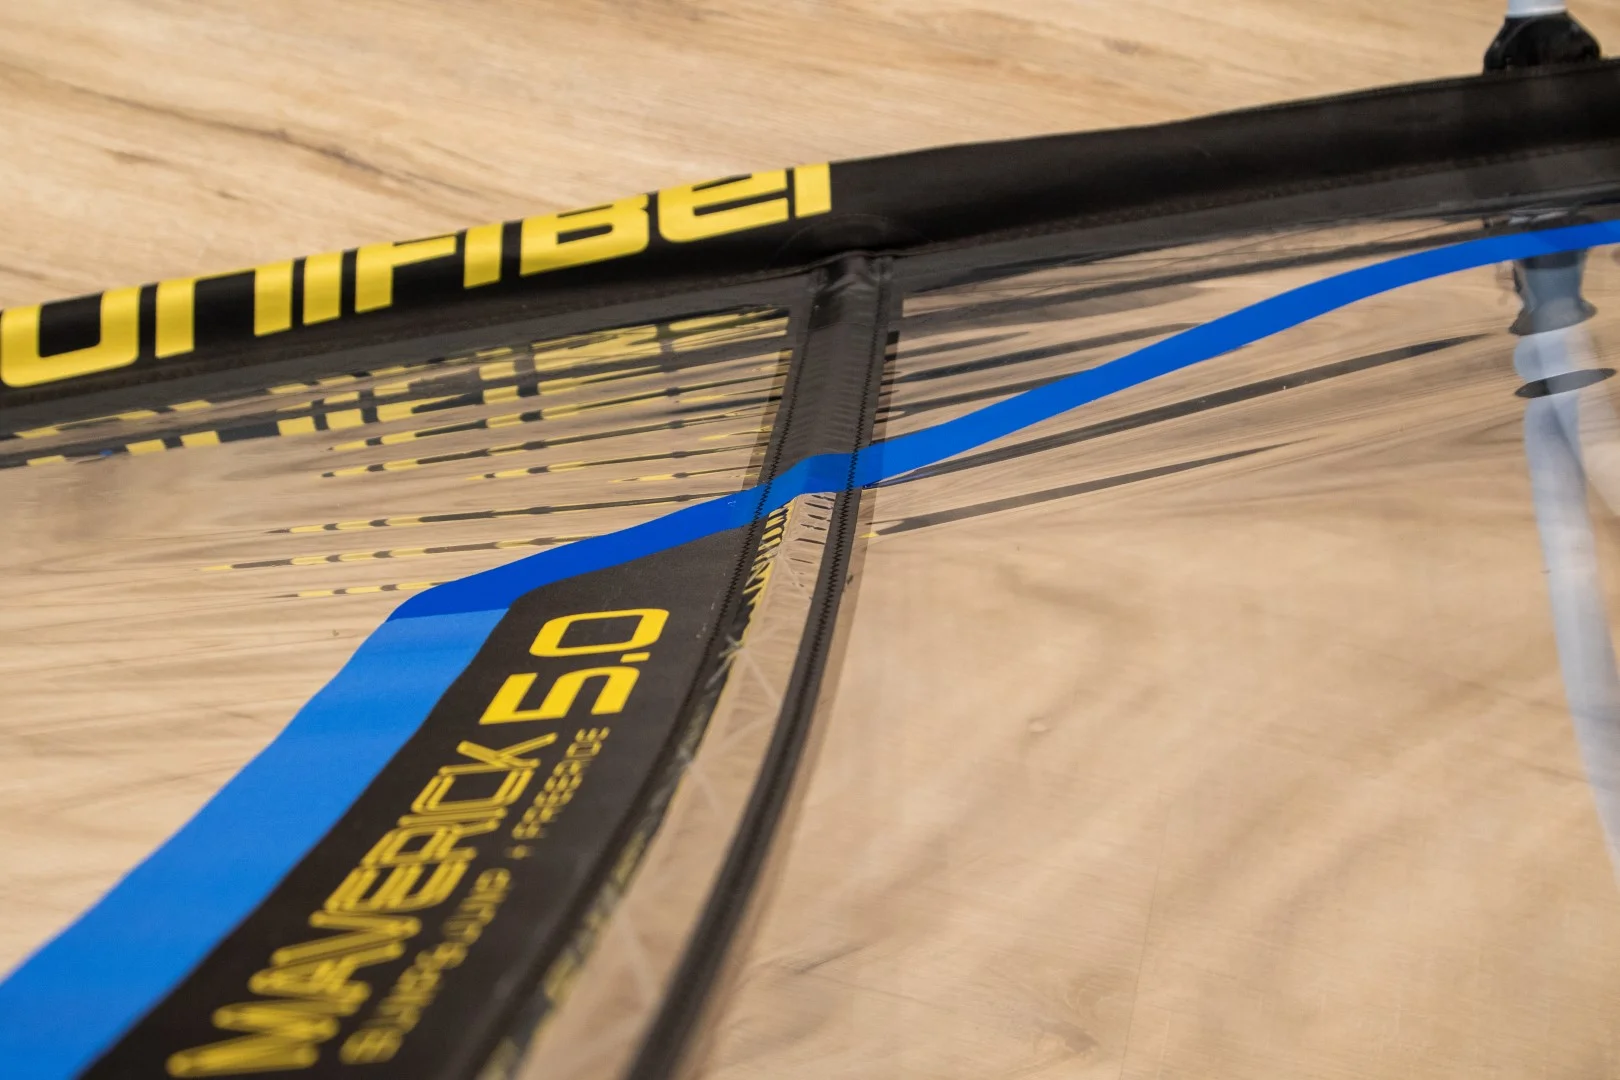
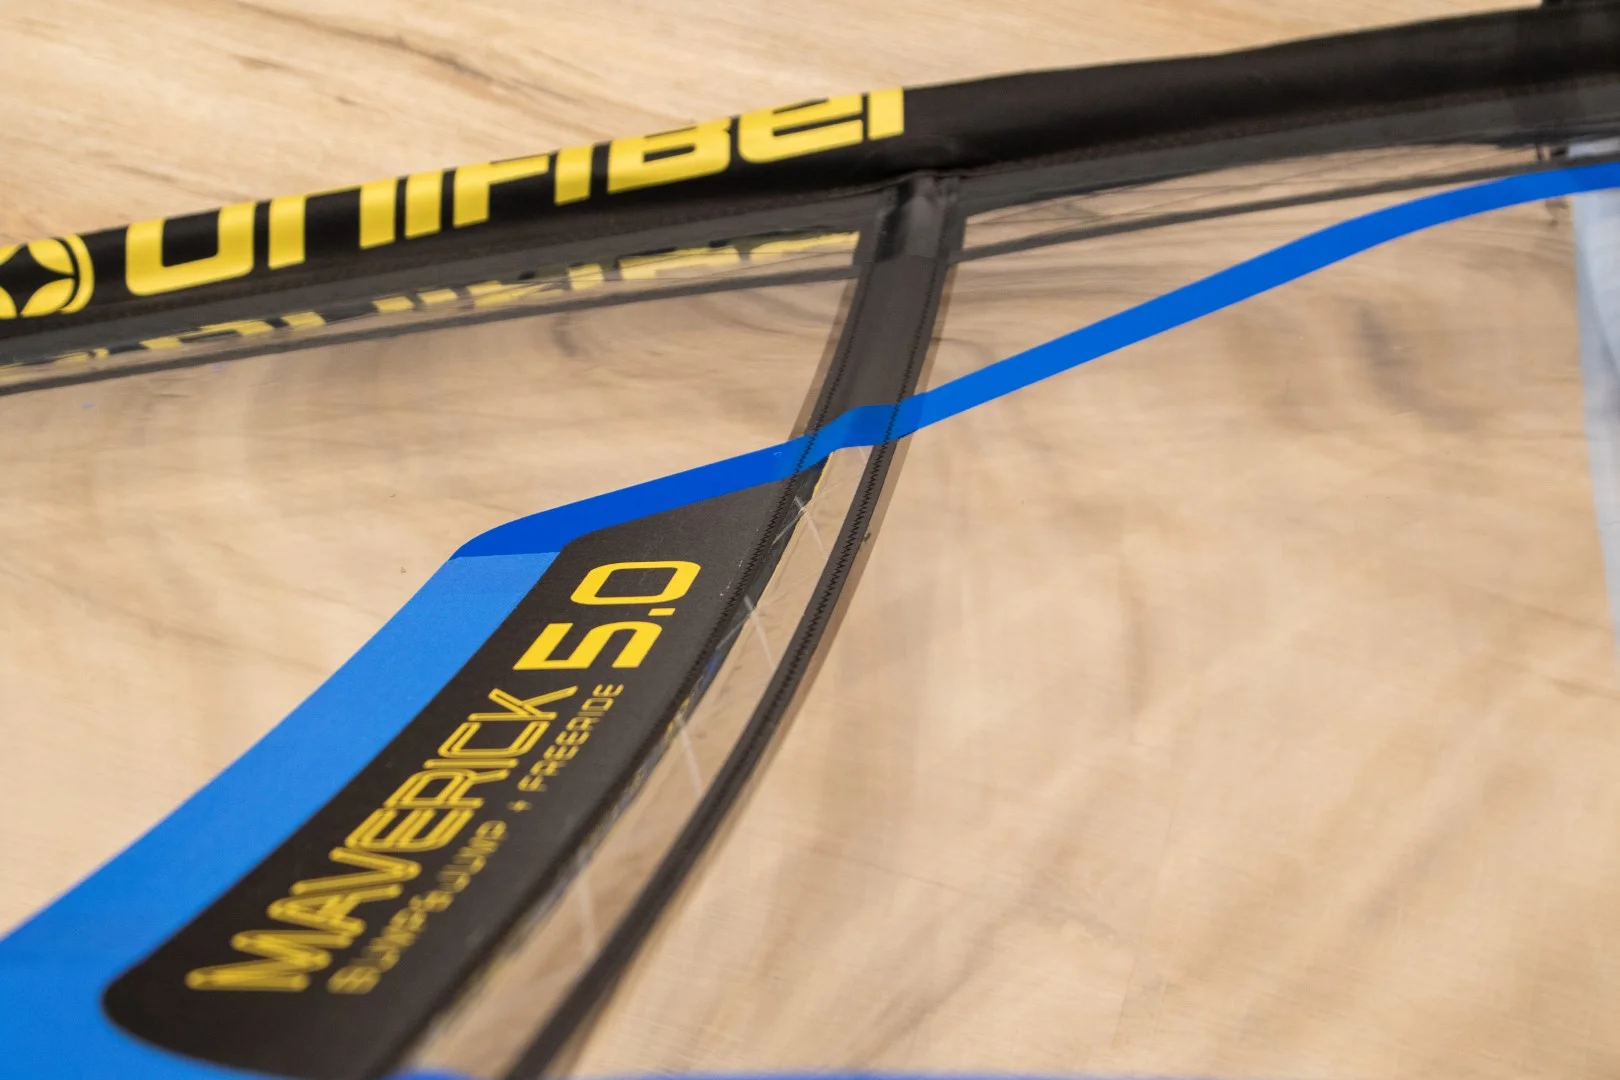
- Maverick II sail
- Recommended mast for each sail size:
- Maverick II 4.0: Unifiber RDM Constant Curve 340
- Maverick II 4.5: Unifiber RDM Constant Curve 370
- Maverick II 5.0: Unifiber RDM Constant Curve 400
- Maverick II 5.8: Unifiber RDM Constant Curve 430
- Maverick II 6.5: Unifiber SDM Constant Curve 430
- Maverick II 7.3: Unifiber SDM Constant Curve 460
- Mast extension
- Boom
- Uphaul
Rigging:
1. Select a location with a flat and minimally-abrasive surface where you will rig the sail. A patch of grass is ideal and - otherwise - rigging on the beach is also fine.
2. Before you unroll the sail, ensure that you have all components within reach. Having all the parts to hand means you won't have to walk away from the half-rigged sail and risk it being blown away by the wind. Now, go ahead and unroll the sail, doing so in a downwind direction.
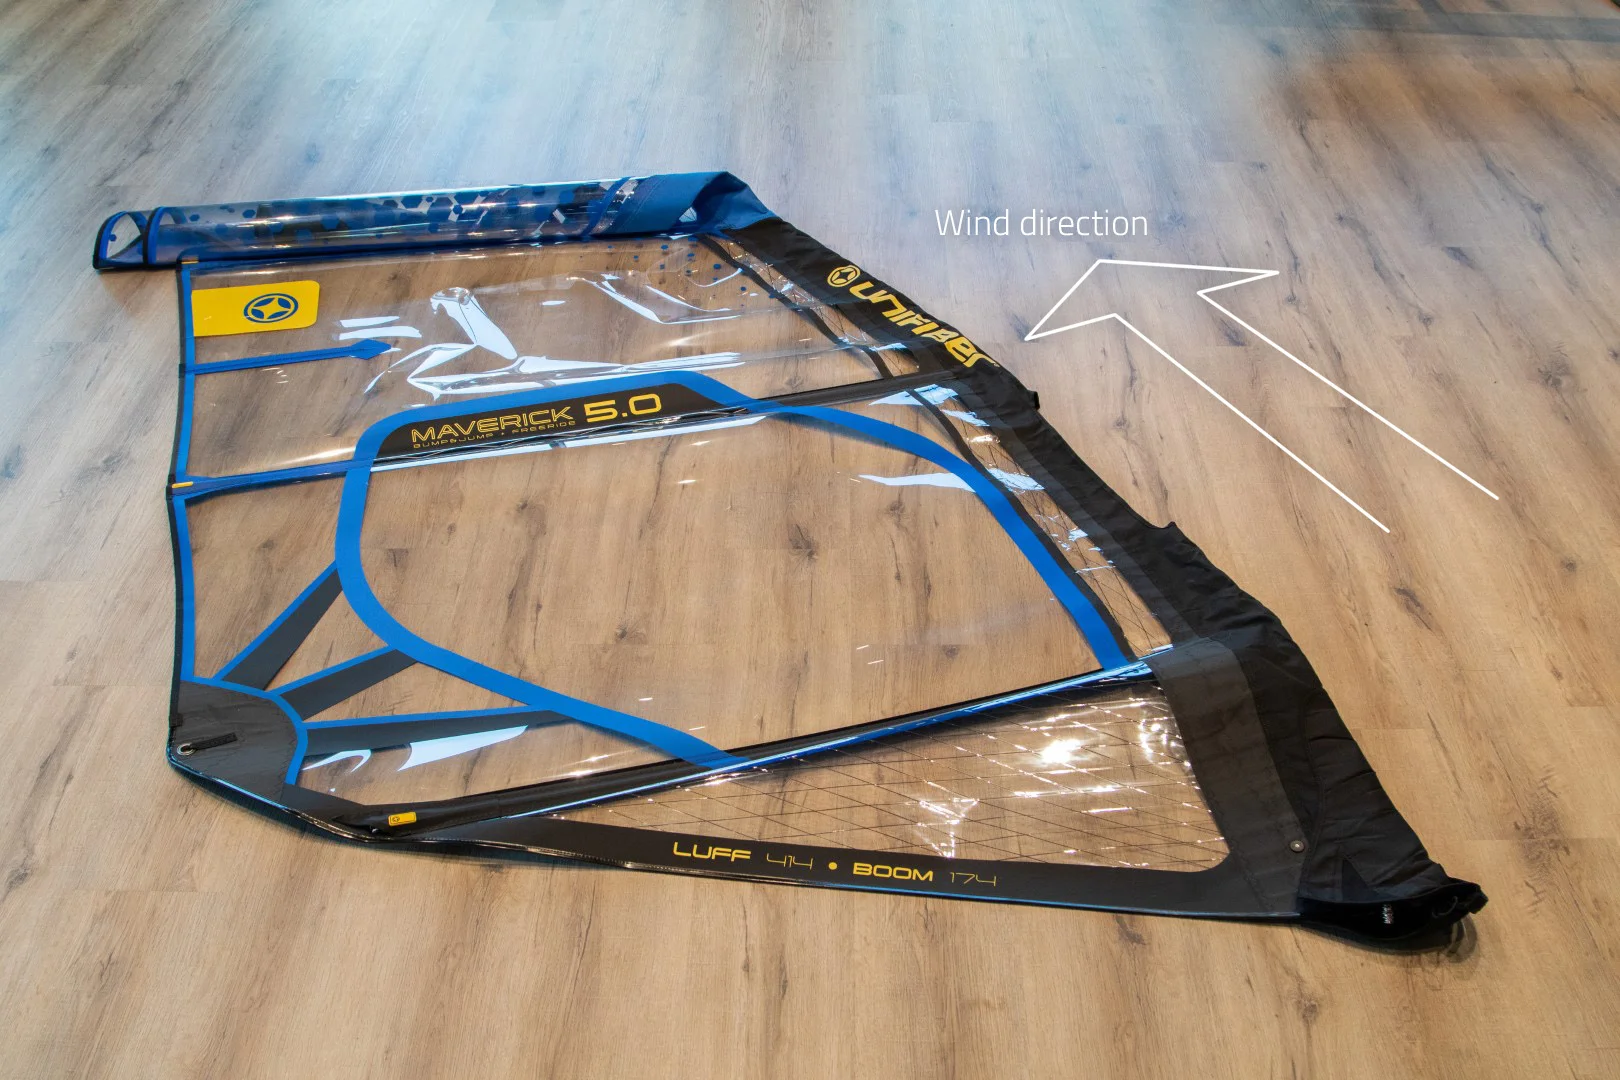
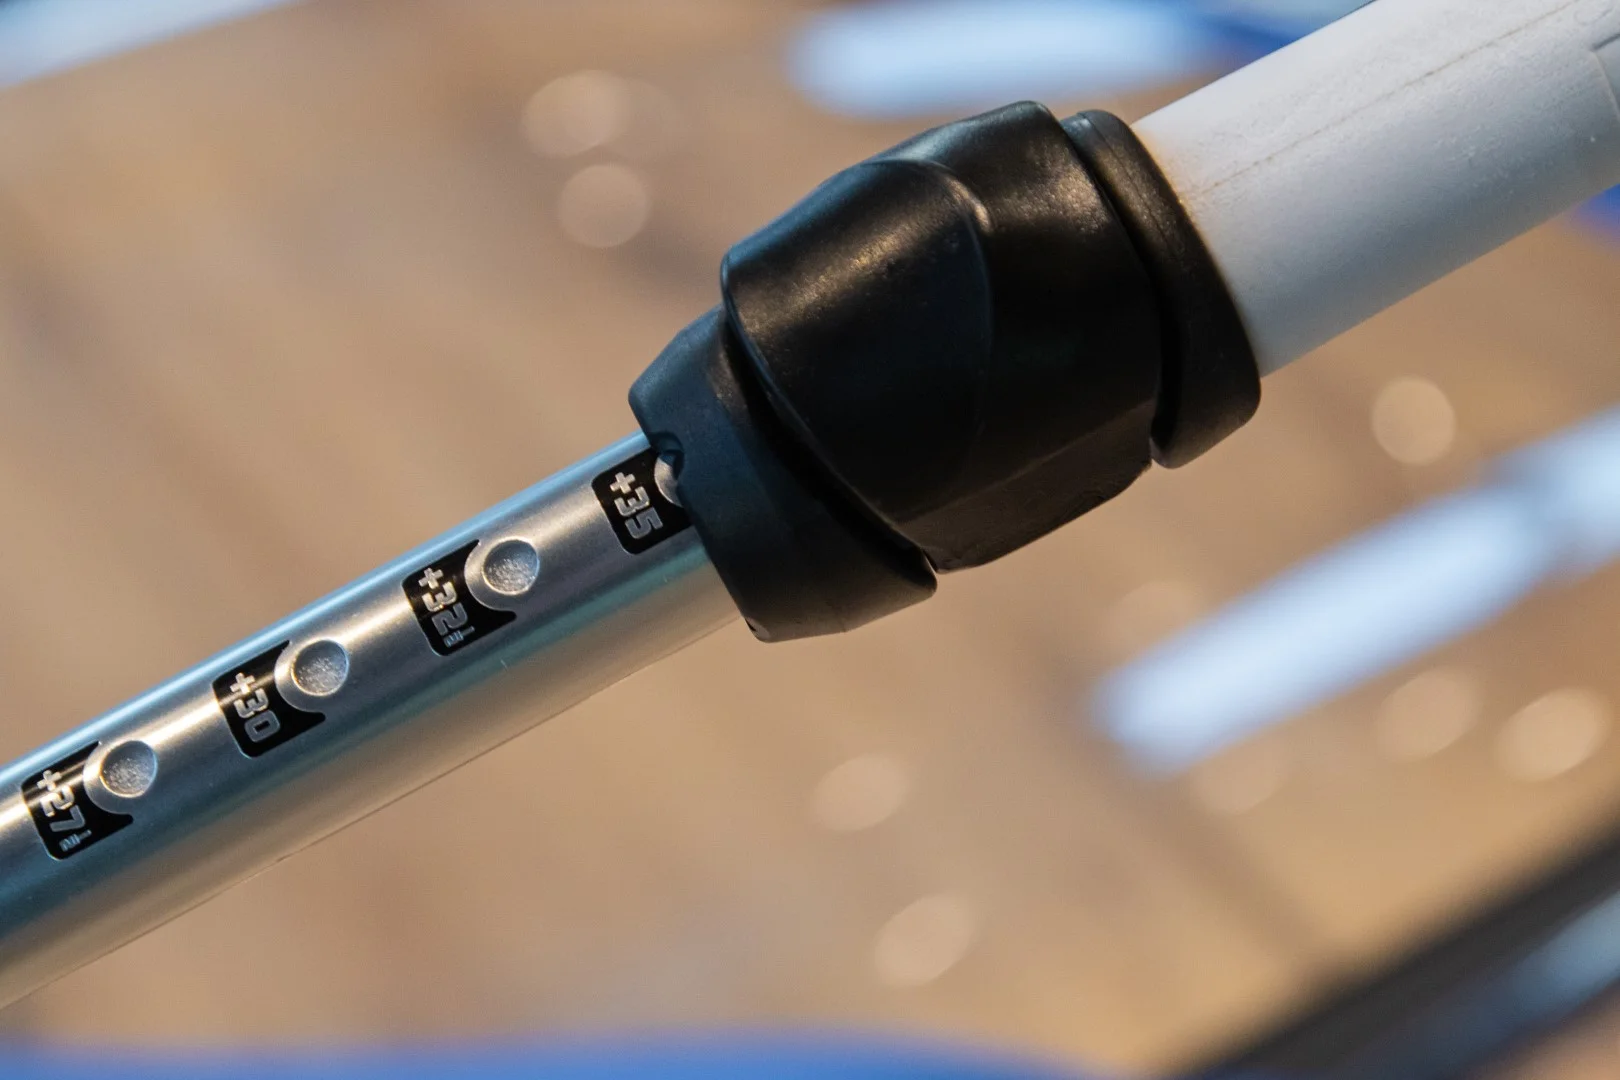
3. Set the boom and mast extension to the required lengths as printed on the foot of the sail. For the sail we are rigging in this tutorial, we are using the recommended 400 cm mast, so the mast extension will be set to allow for 14 cm more of luff length.

4. Slide the mast up the luff sleeve.
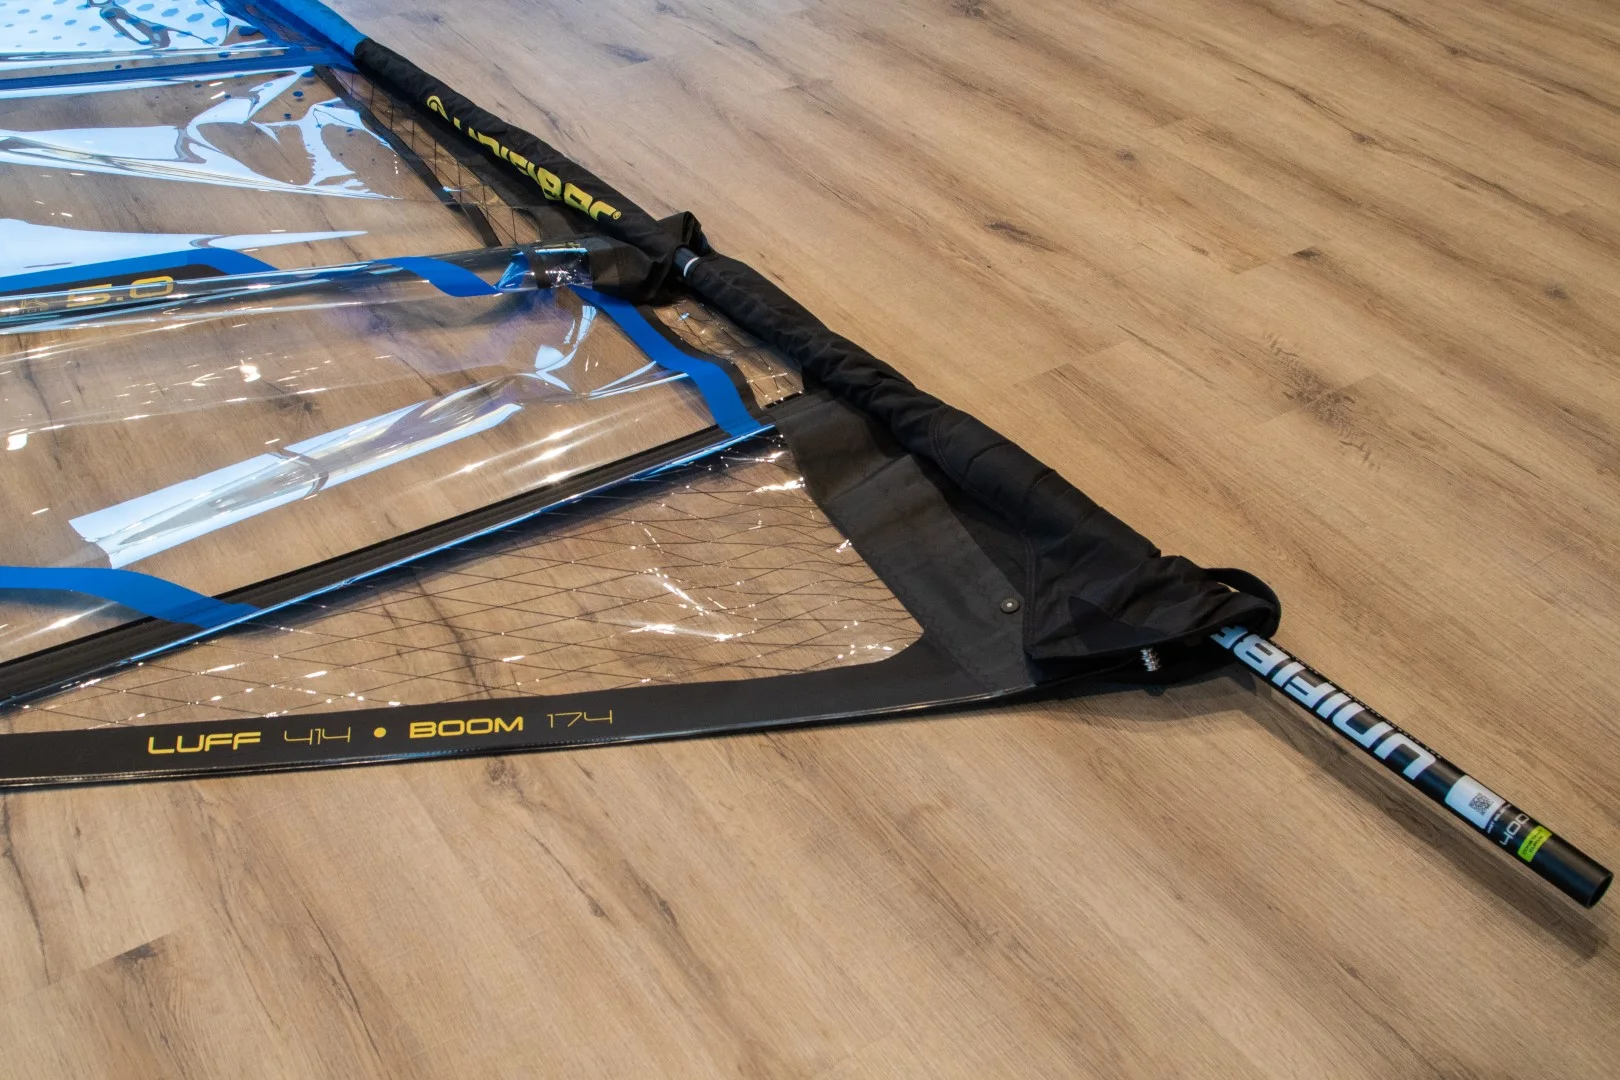
5. Important! Ensure that the mast tip is completely inserted in the head of the sail. And check, by feel, that the mast parts are properly slotted together at the join.
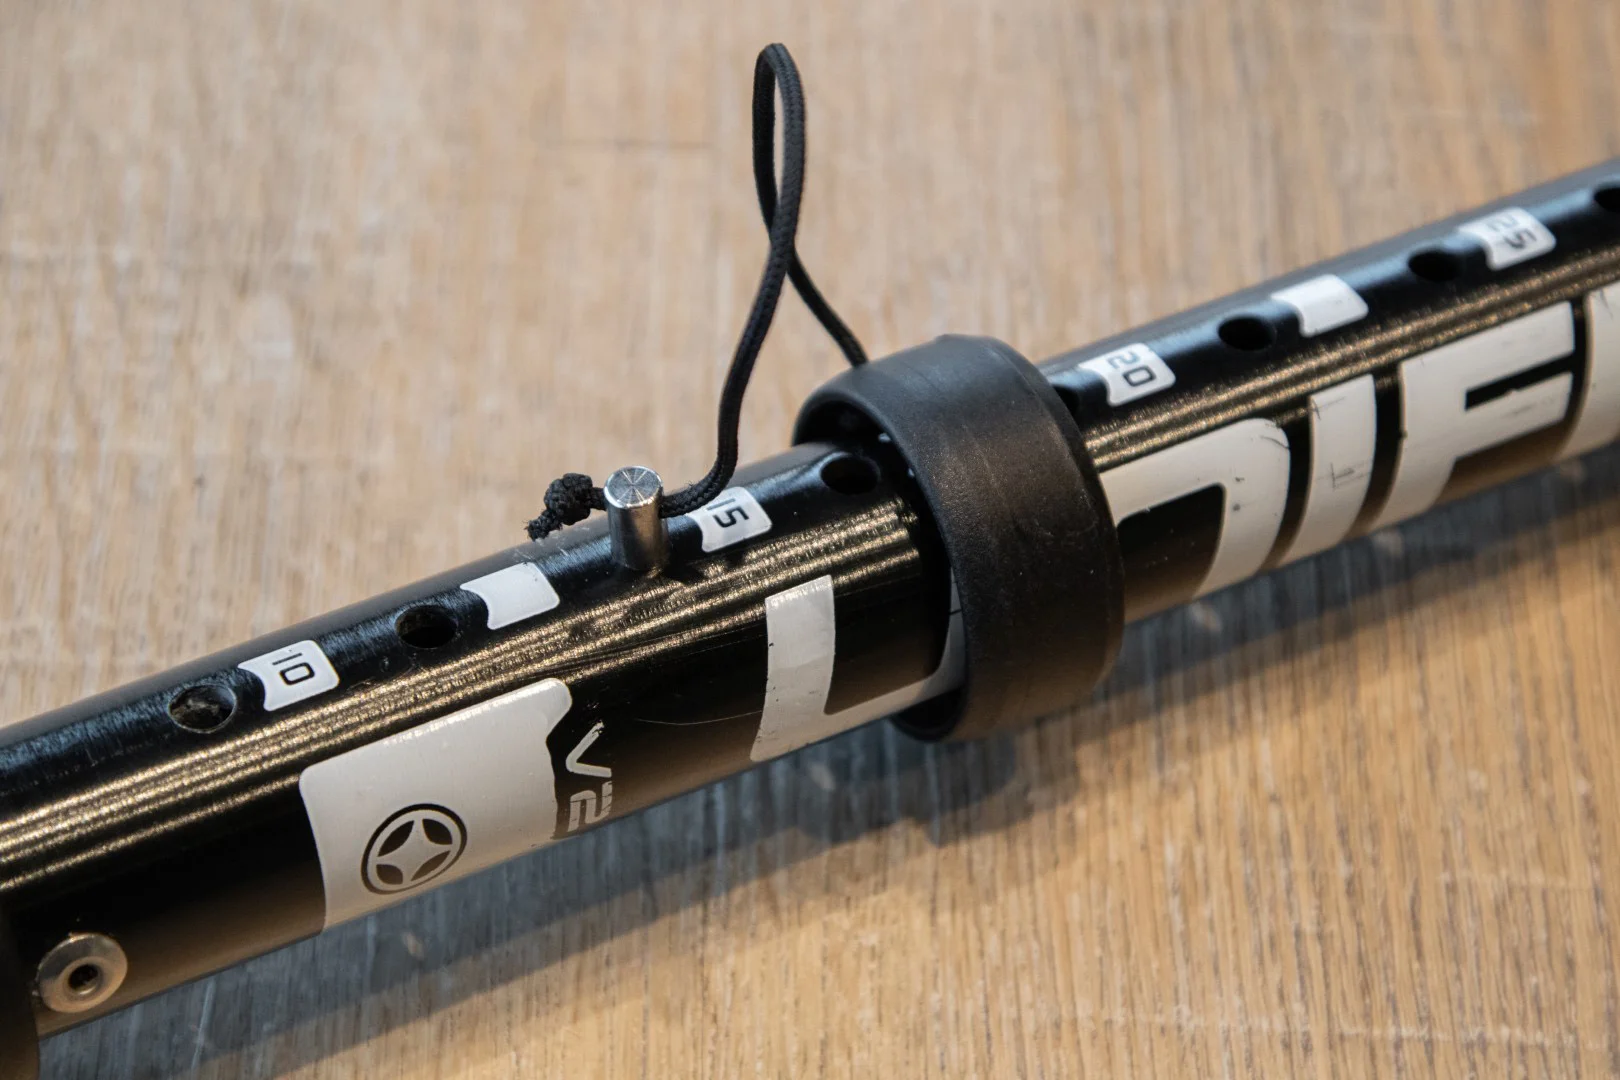
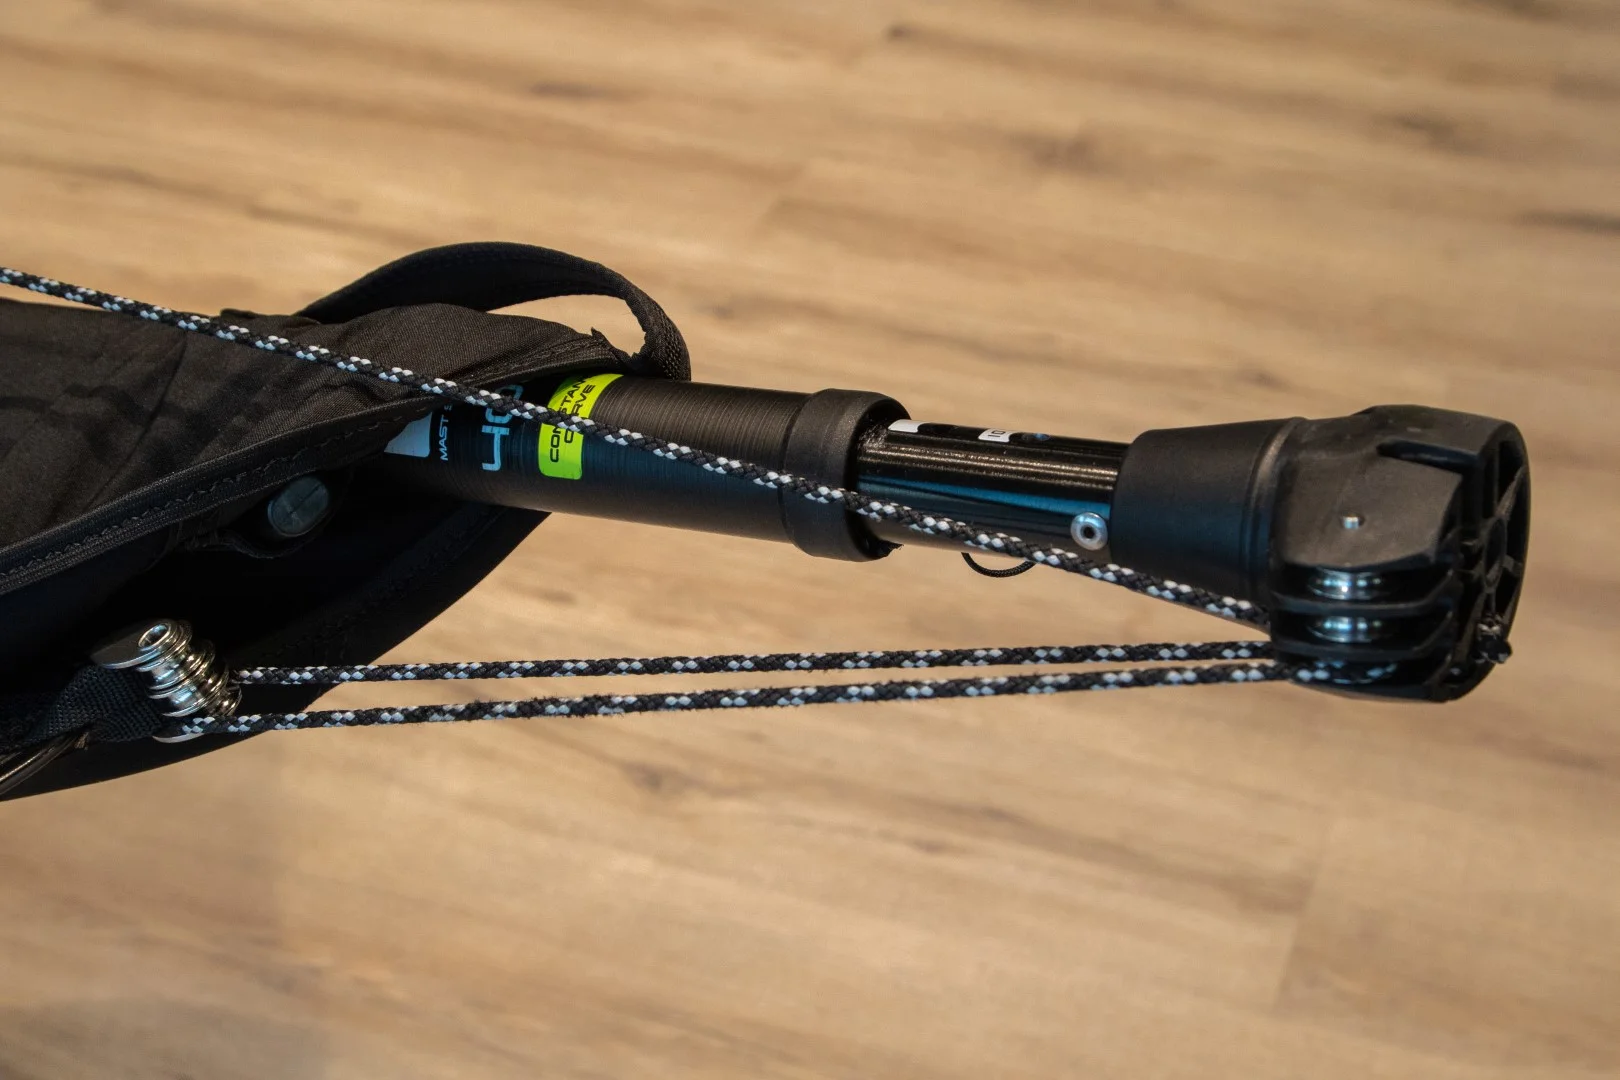
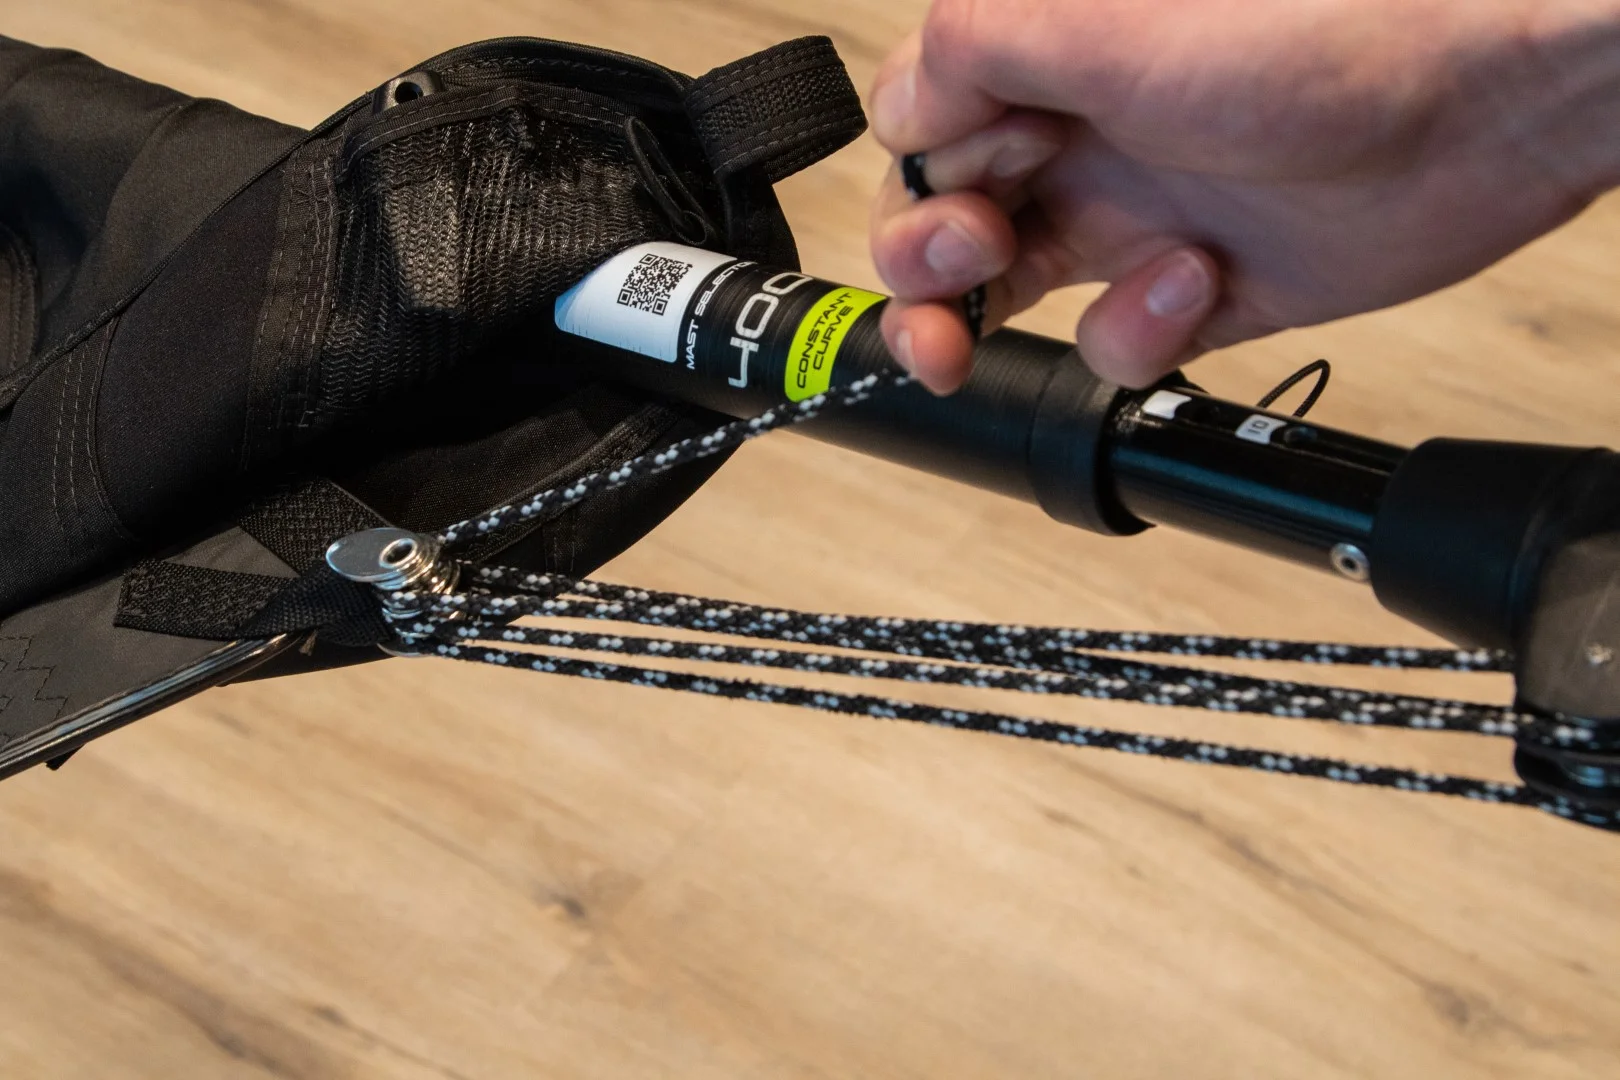
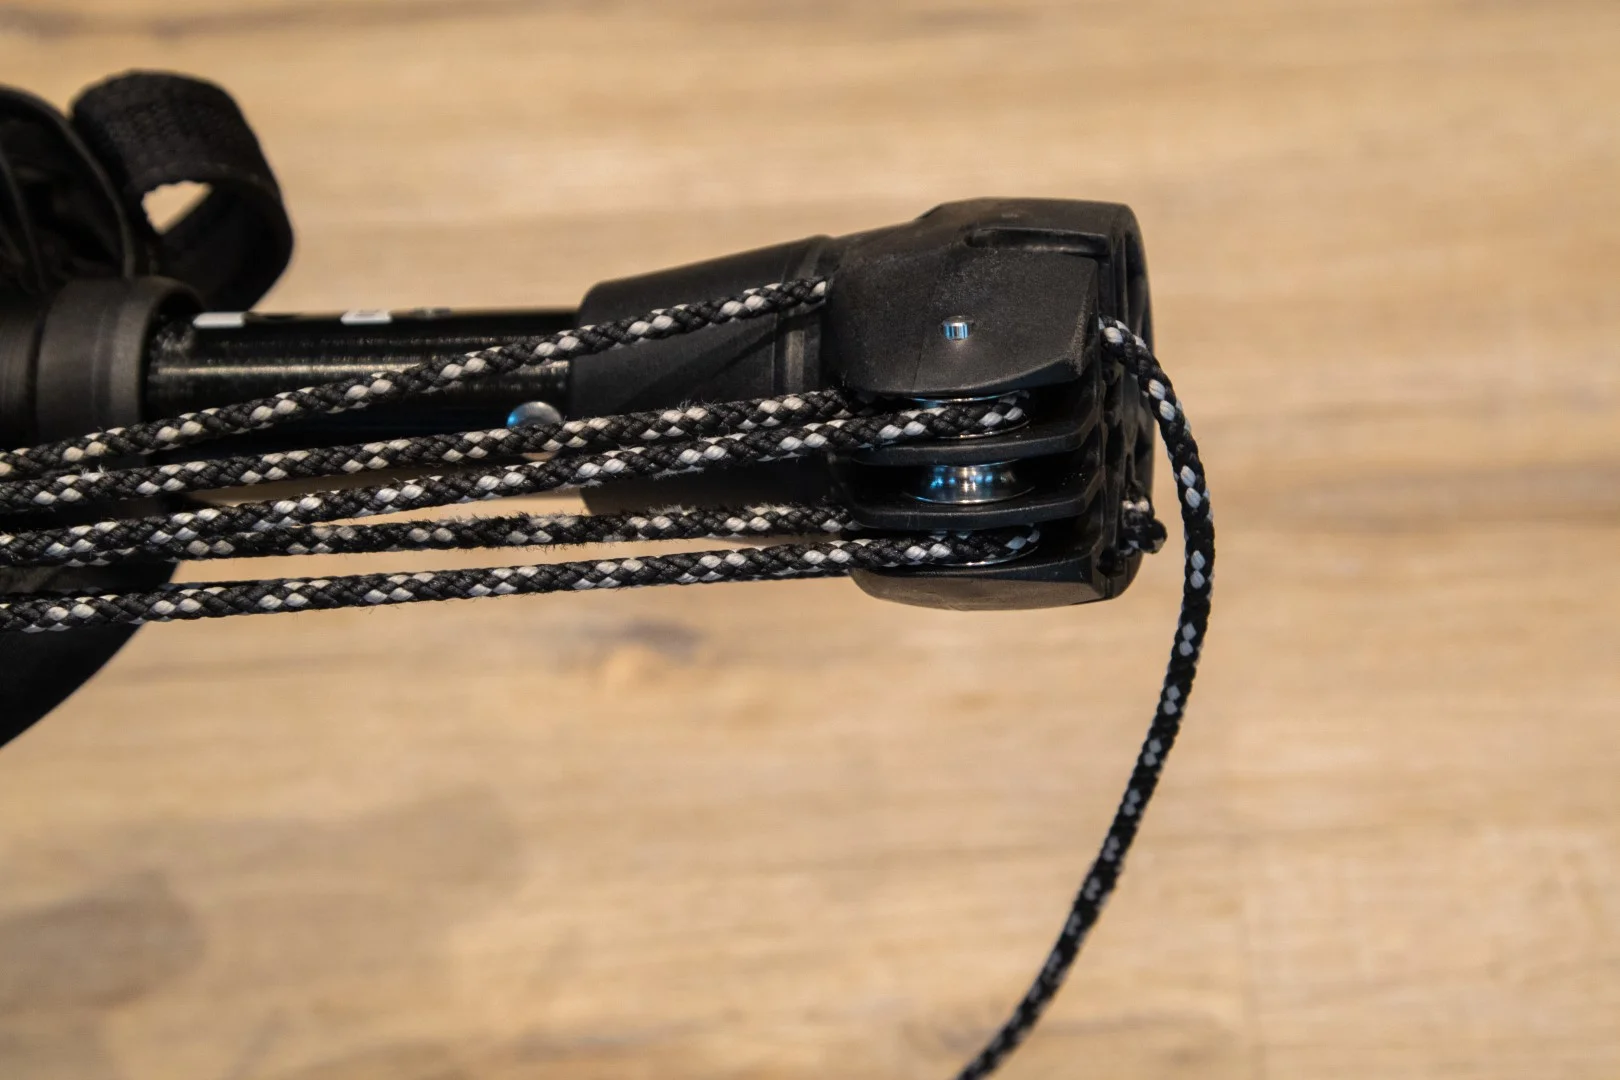
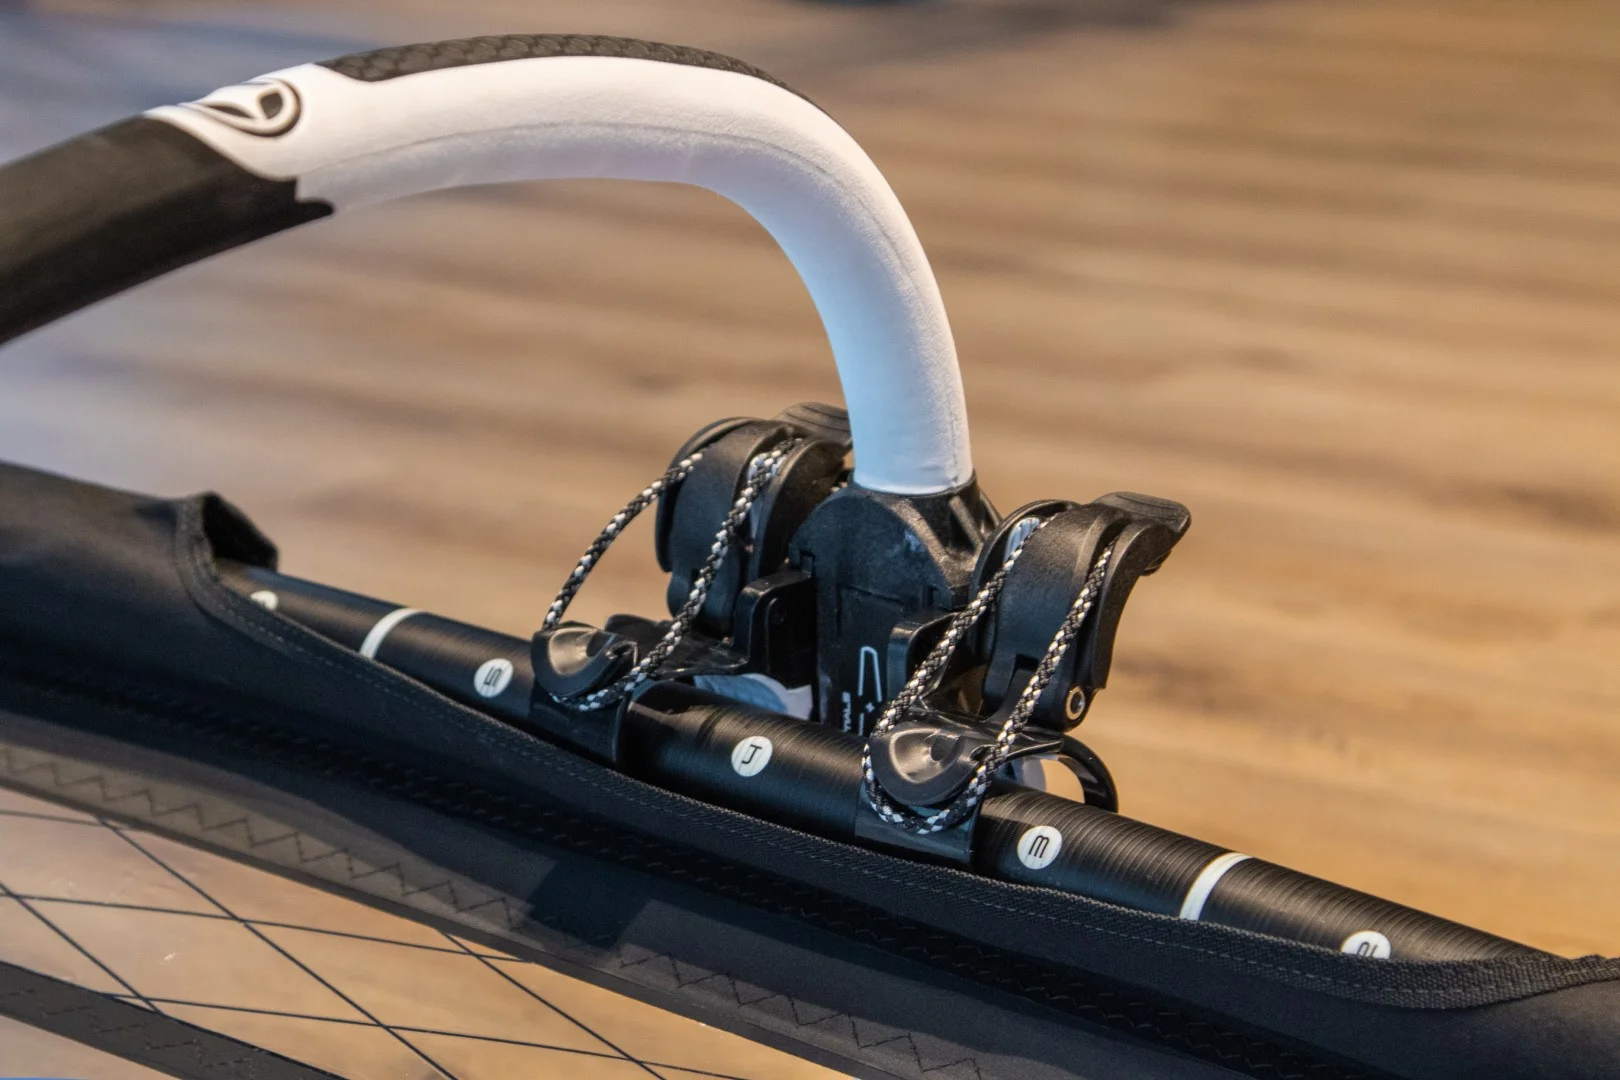
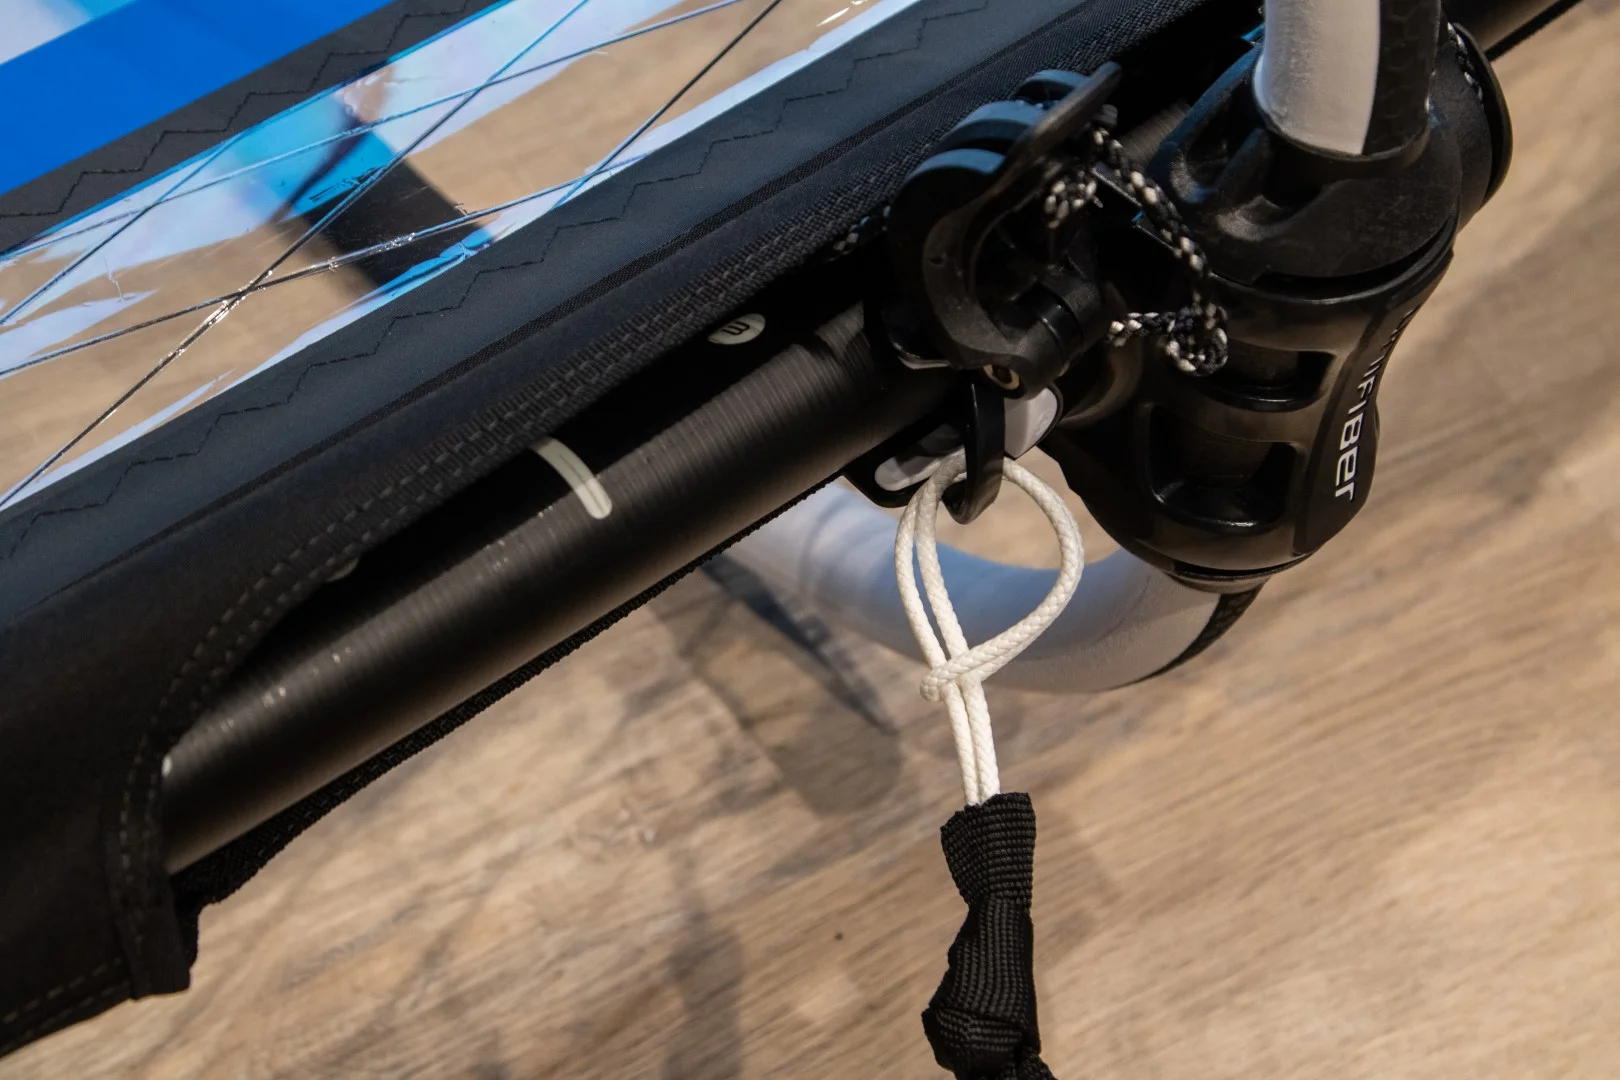
6. Put the mast extension in the mast. Thread the rope through the pulley at the bottom of sail - the "tack pulley" - and then through a pulley of the mast extension. Repeat a second time, and then a third time, so that all three tack pulleys are being used. Finally, thread the rope through the cleat of the mast extension, as shown in the pictures.
It is important to find the least twisted route for the rope, as this will reduce the effort required when pulling, and will also allow the pulleys to come into closer proximity (almost "block to block"). Thread the rope "in order", from bottom to top, as shown below.
7. Place your foot against the base of the mast extension and pull the downhaul rope to tension the sail. The tension is within the recommended range when there is a 5 cm (2 inch) gap between the pulleys.
Tip: Use the Unifiber Downhaul Tool to easily tension the downhaul rope without hurting your hands.
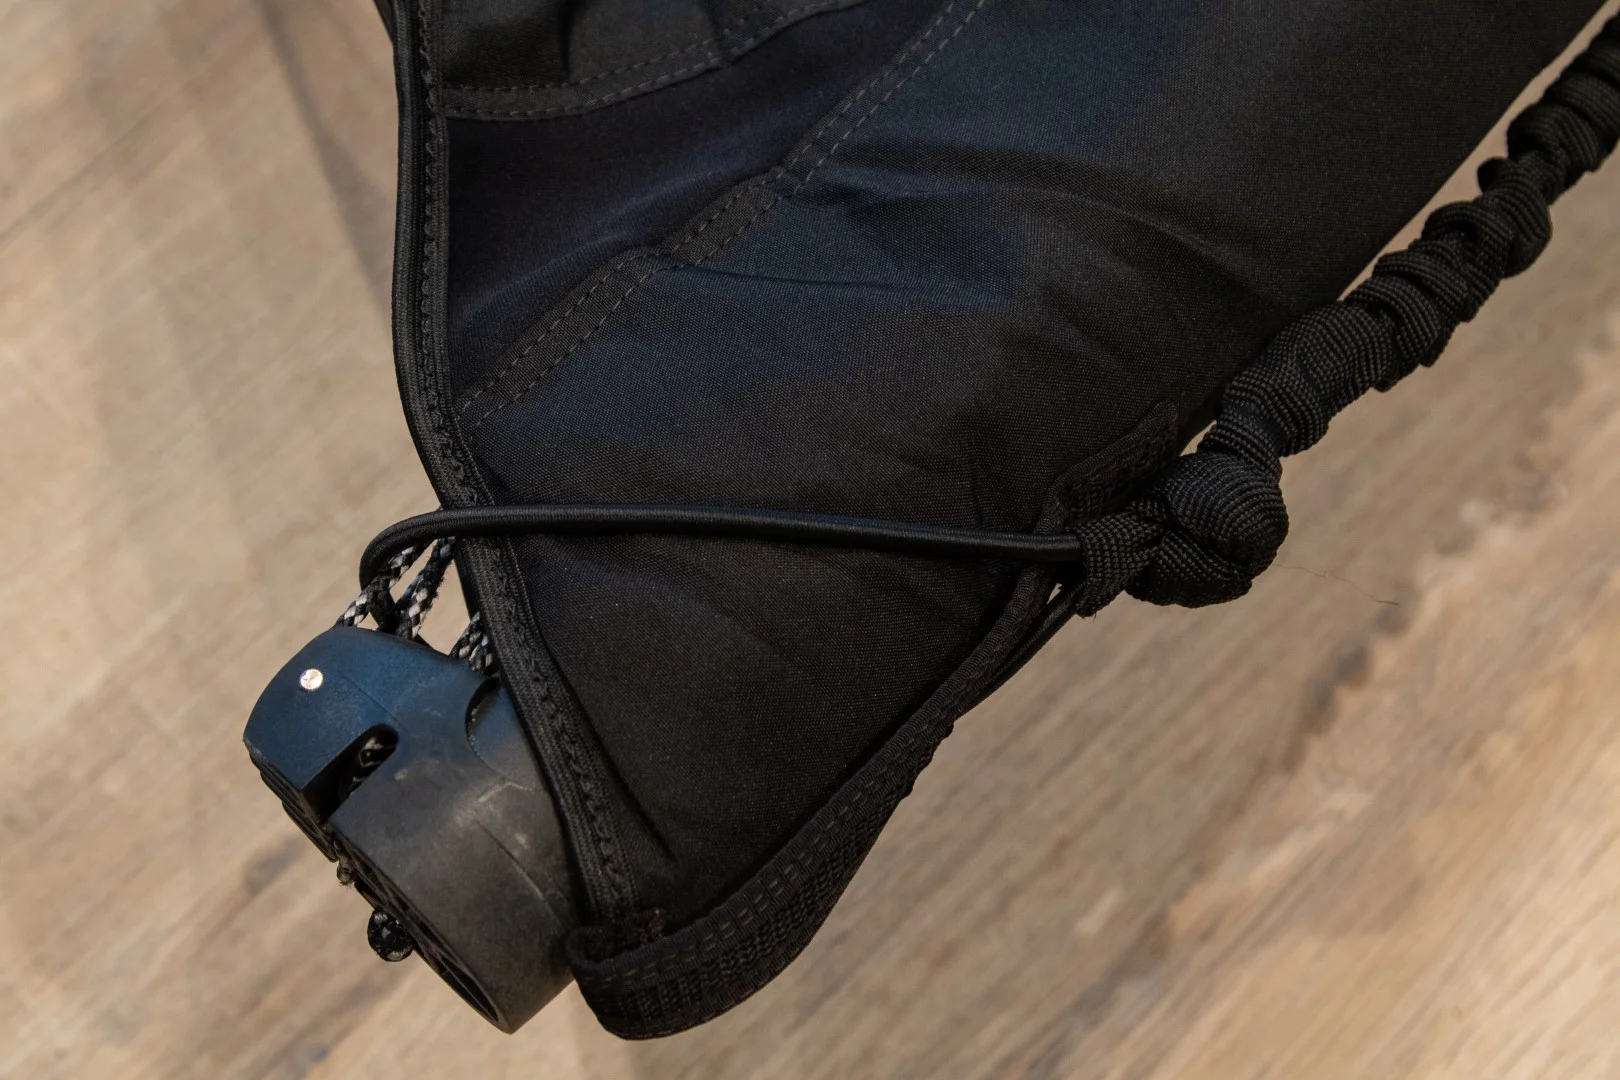
8. Loop the rope a couple of times around the mast base and stow the excess inside the pouch on the sail.
9. As a guide for downhaul tension, check that the sail battens are sufficiently pulled away from the mast. If it is hard to push the battens to the other side of the mast, the sail requires more downhaul tension.
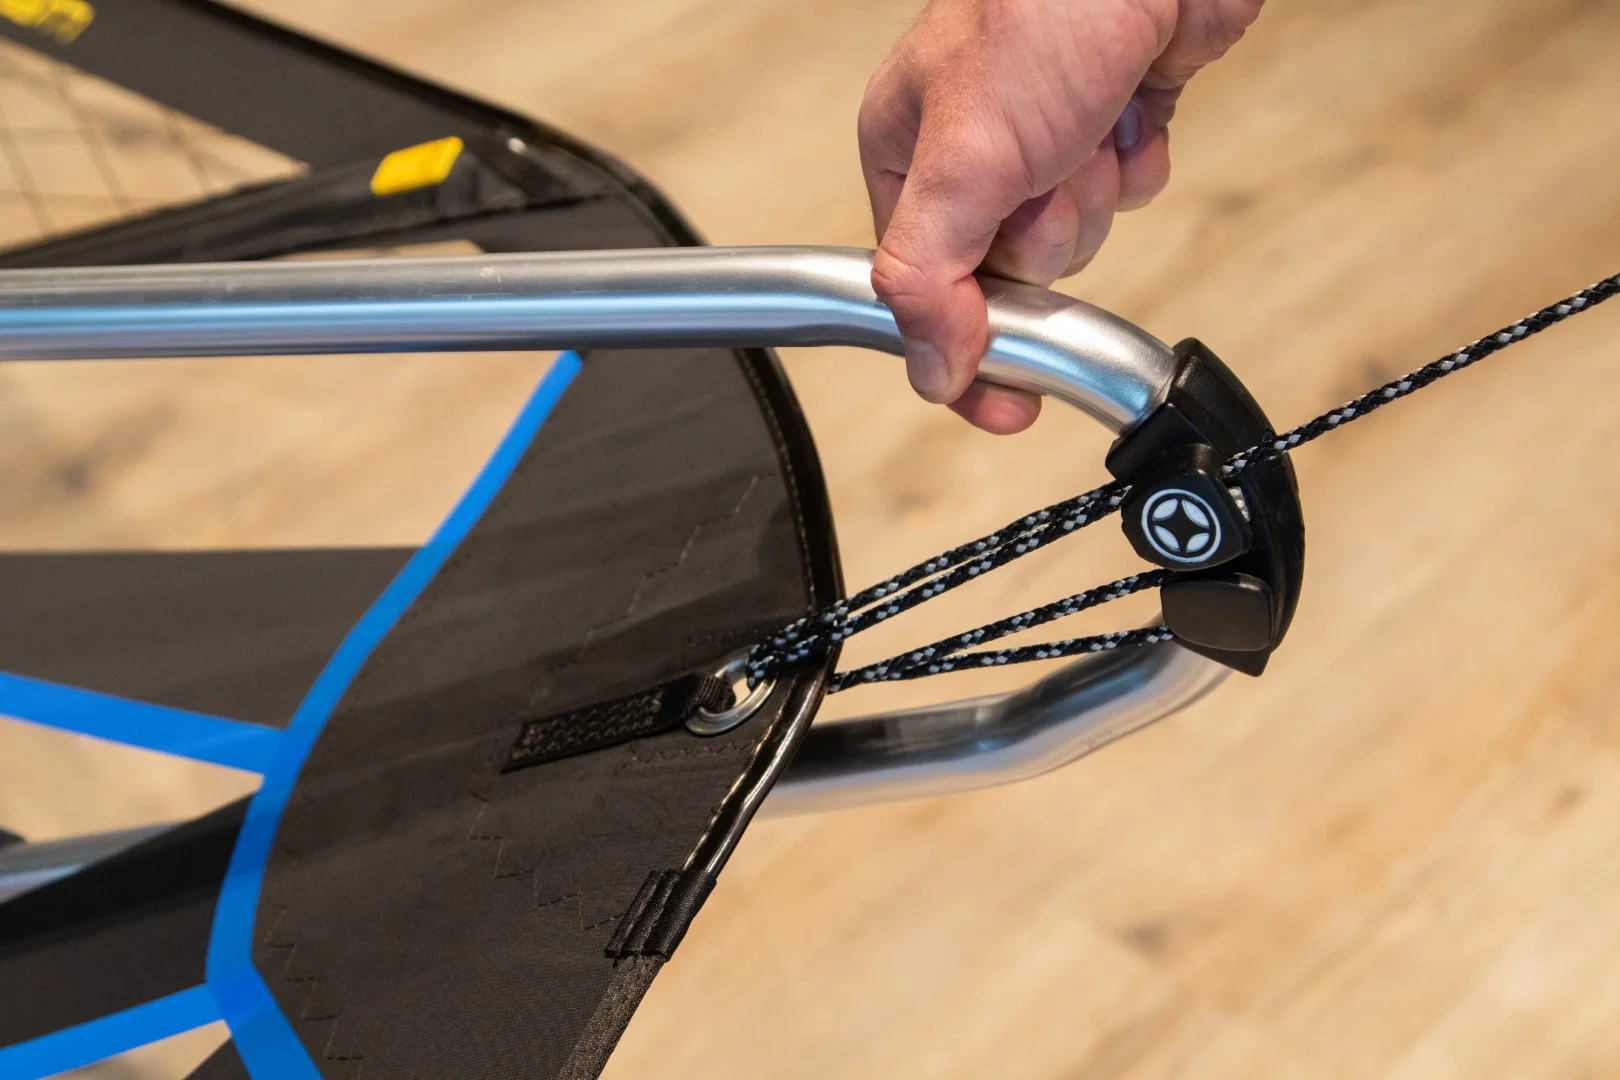
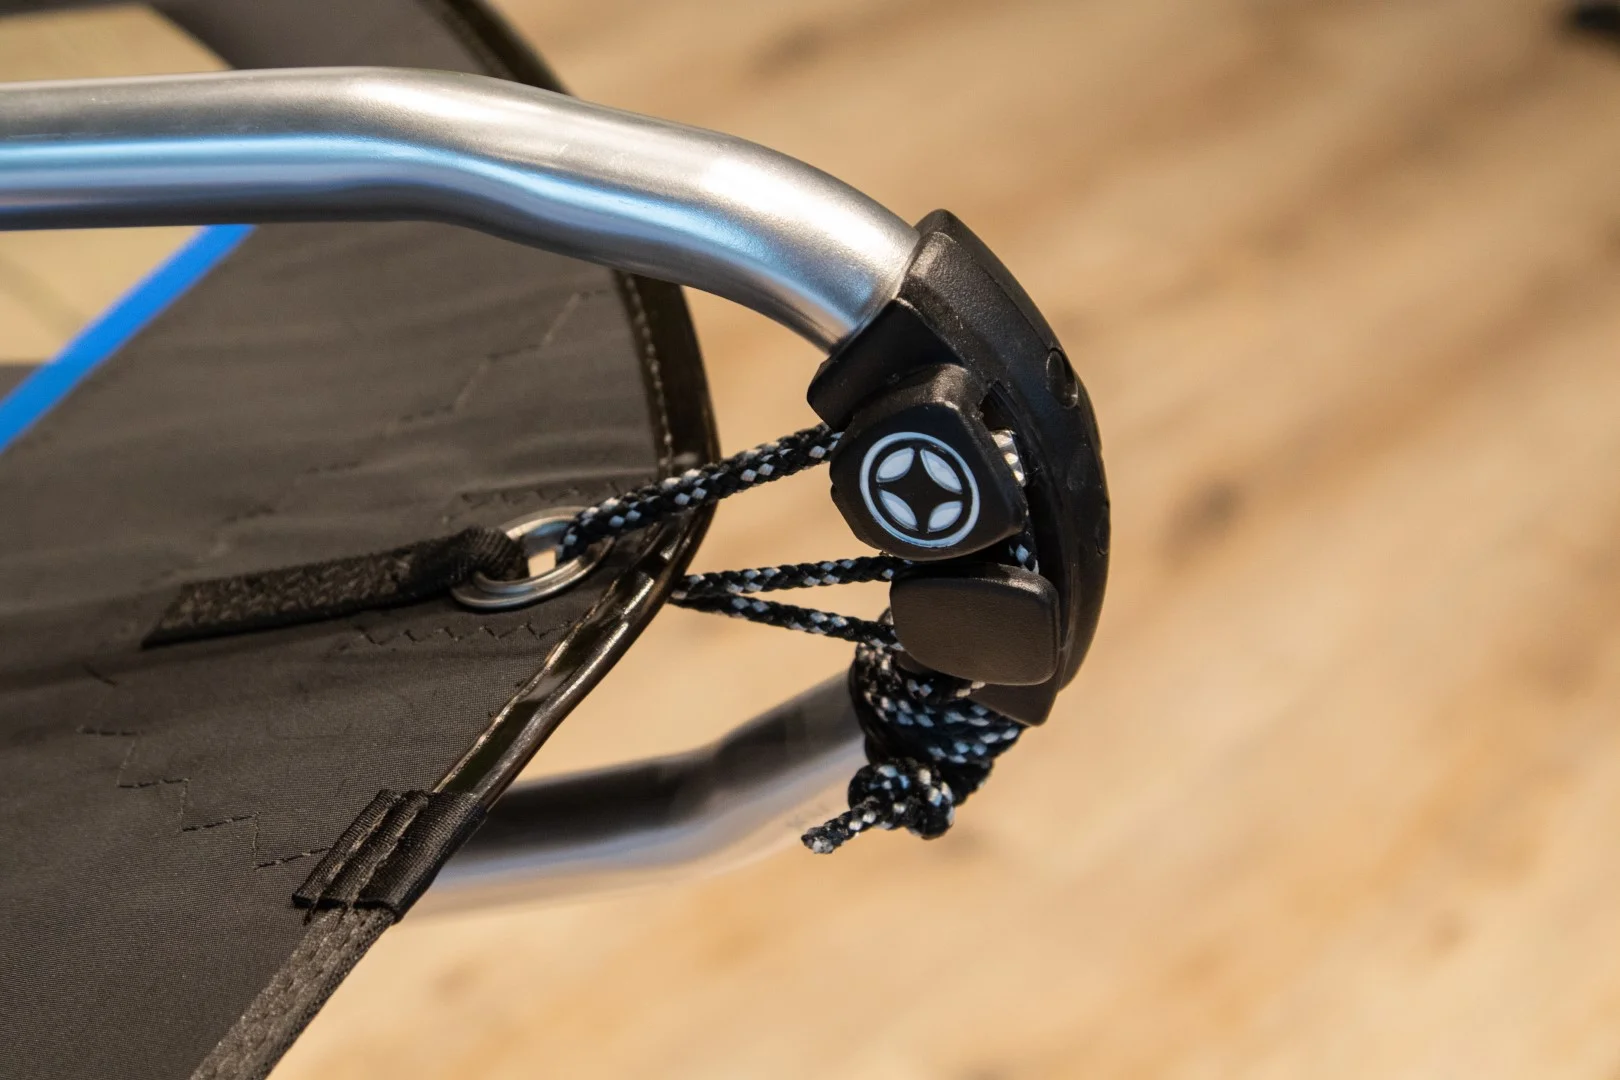
10. Attach the boom’s front end to the mast at about shoulder height. Make sure that the clamp is firmly attached, and there is no play between the boom and the mast. The clamp lever should be firm, but not difficult, to close. If necessary, adjust the clamp rope length so that the clamp lever has the correct resistance.
Tip: This video shows the easiest way to use the Unifiber Modular Boomhead.
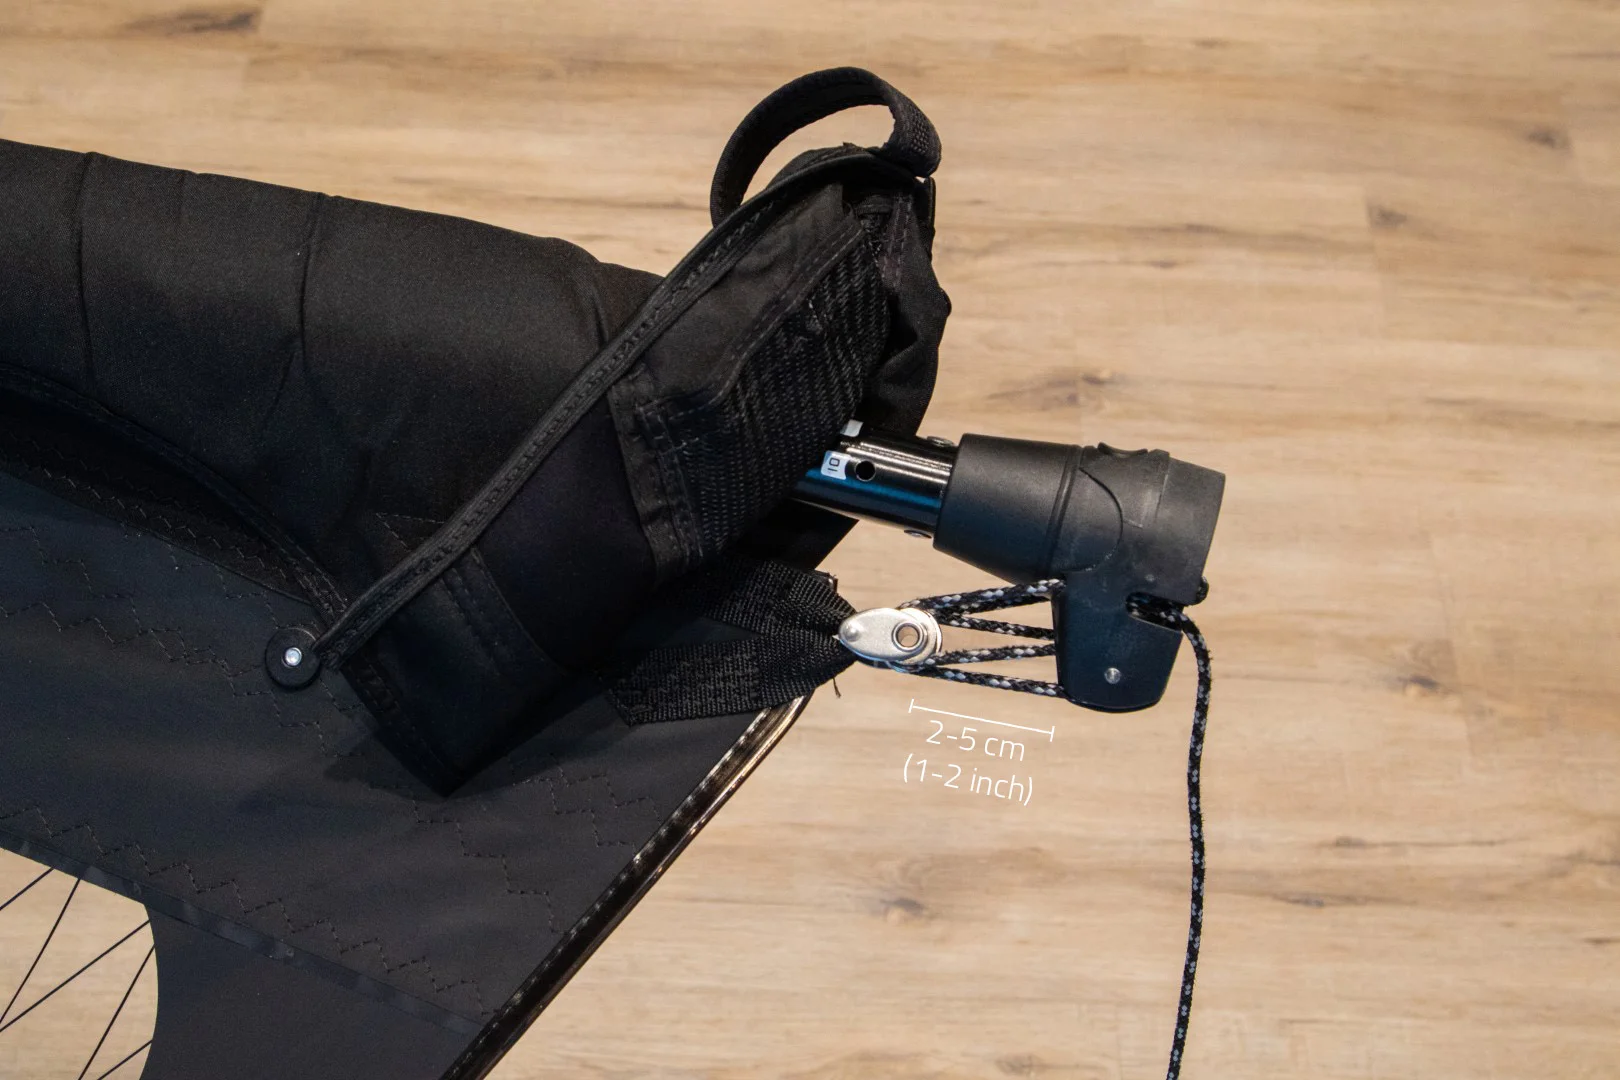
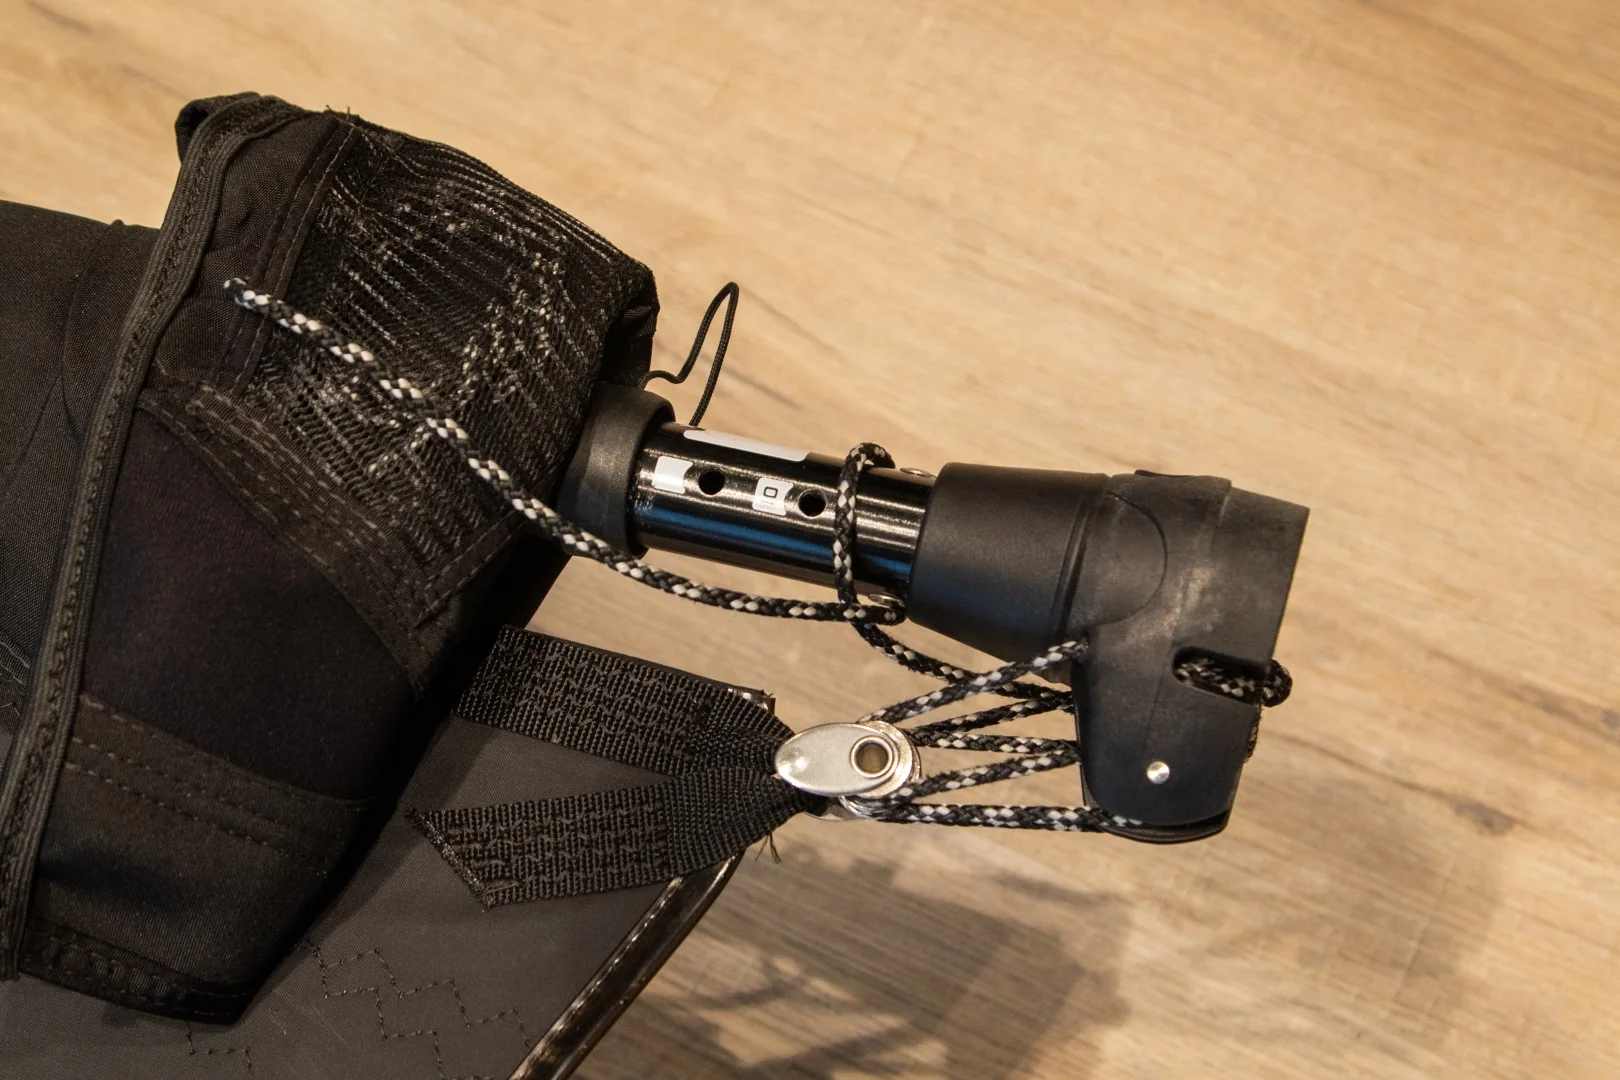
11. Loop the outhaul rope through the clew eyelet and around the plastic hook on the boom. Apply light tension, as in the picture below. Tension until there is a 2-5 cm (1-2 inch) gap between the edge of the sail and the boom block. Neatly stow the excess rope by wrapping it round the tube and securing with a simple "half-hitch" knot.

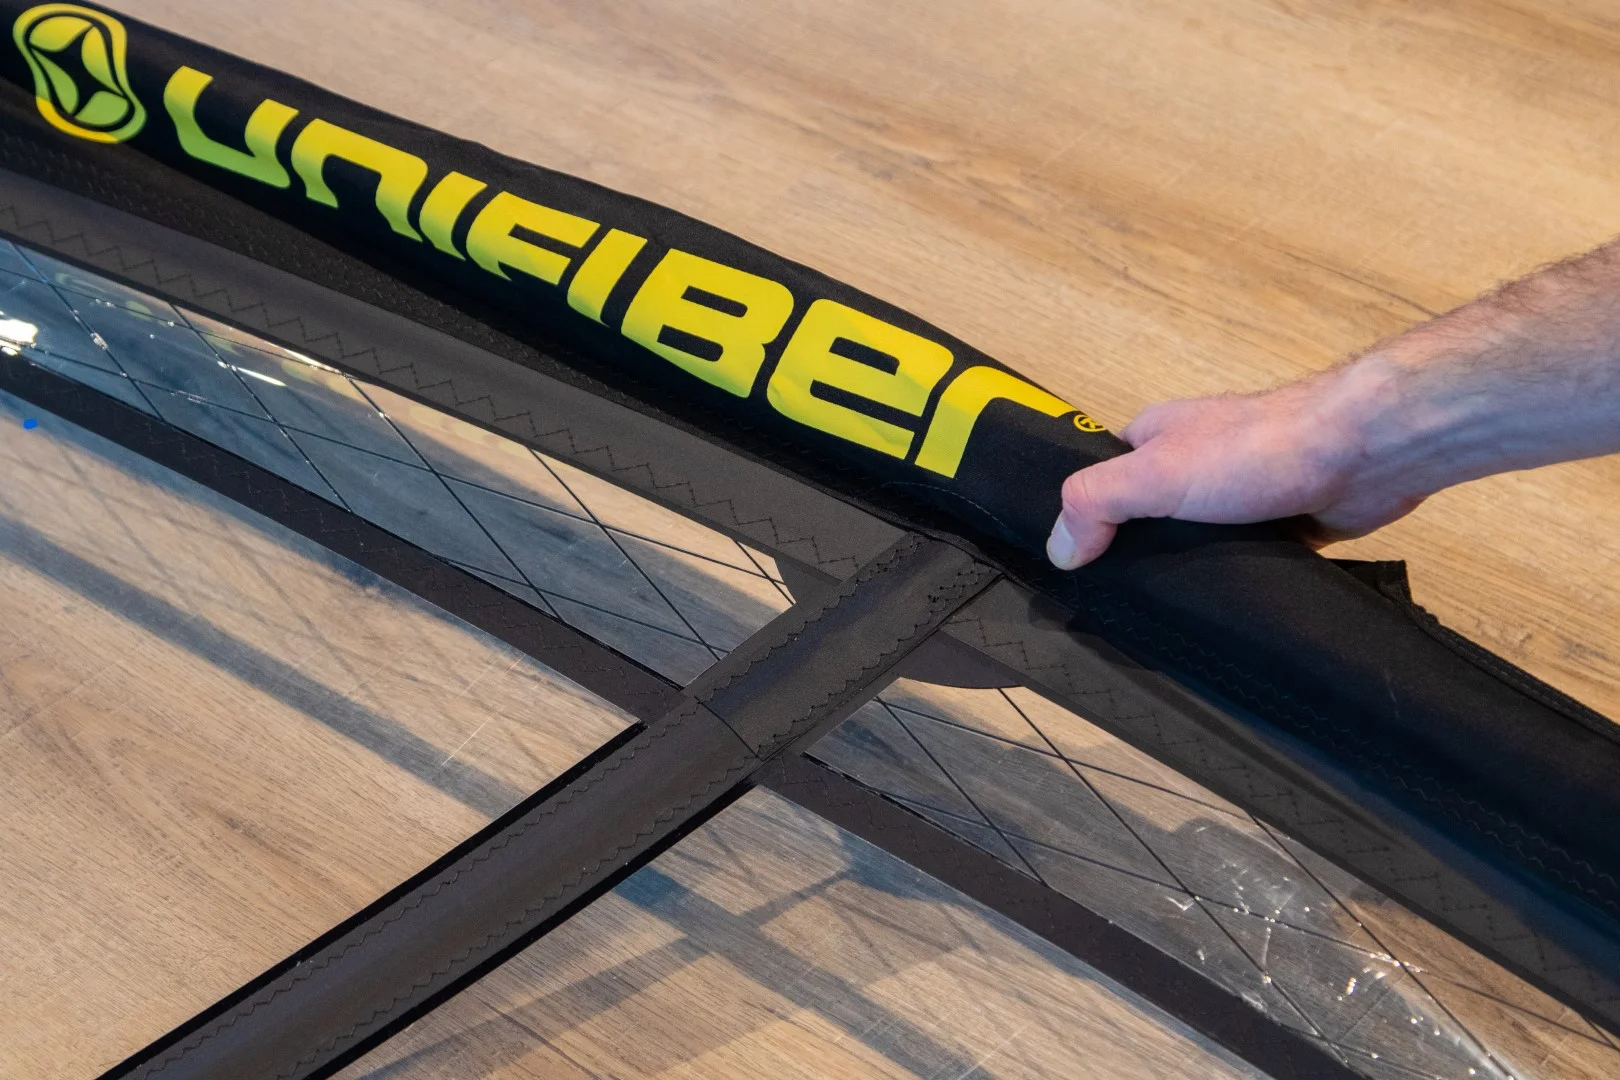
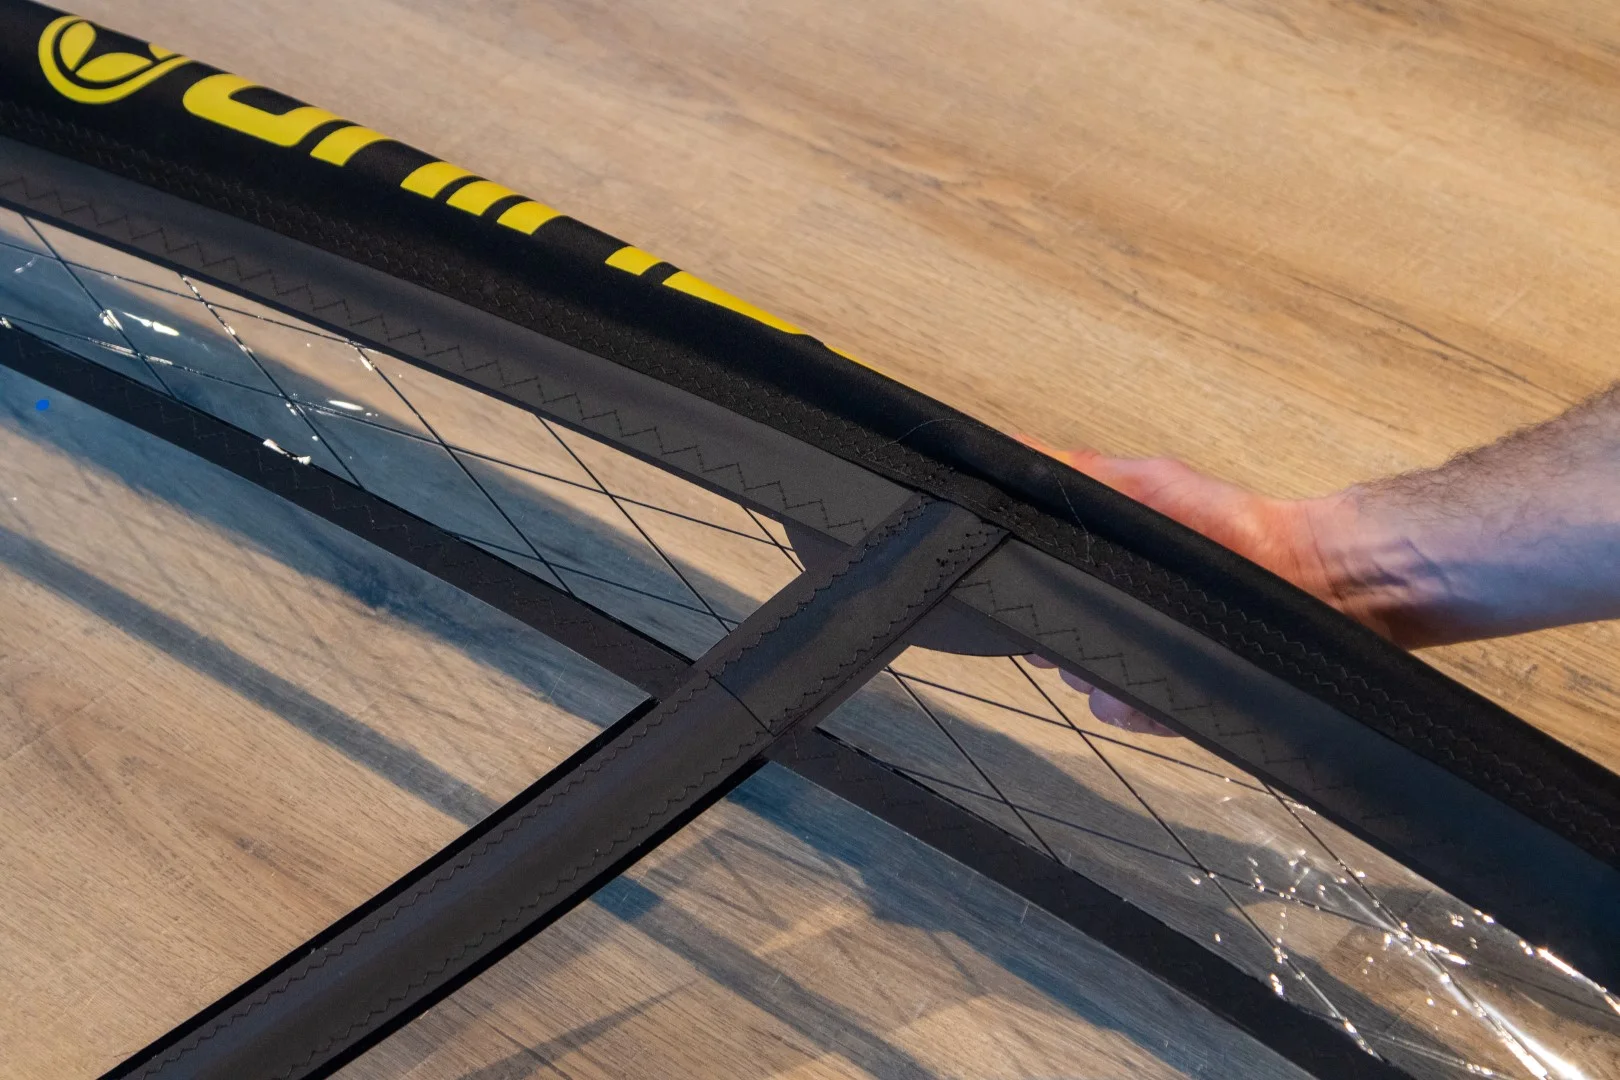
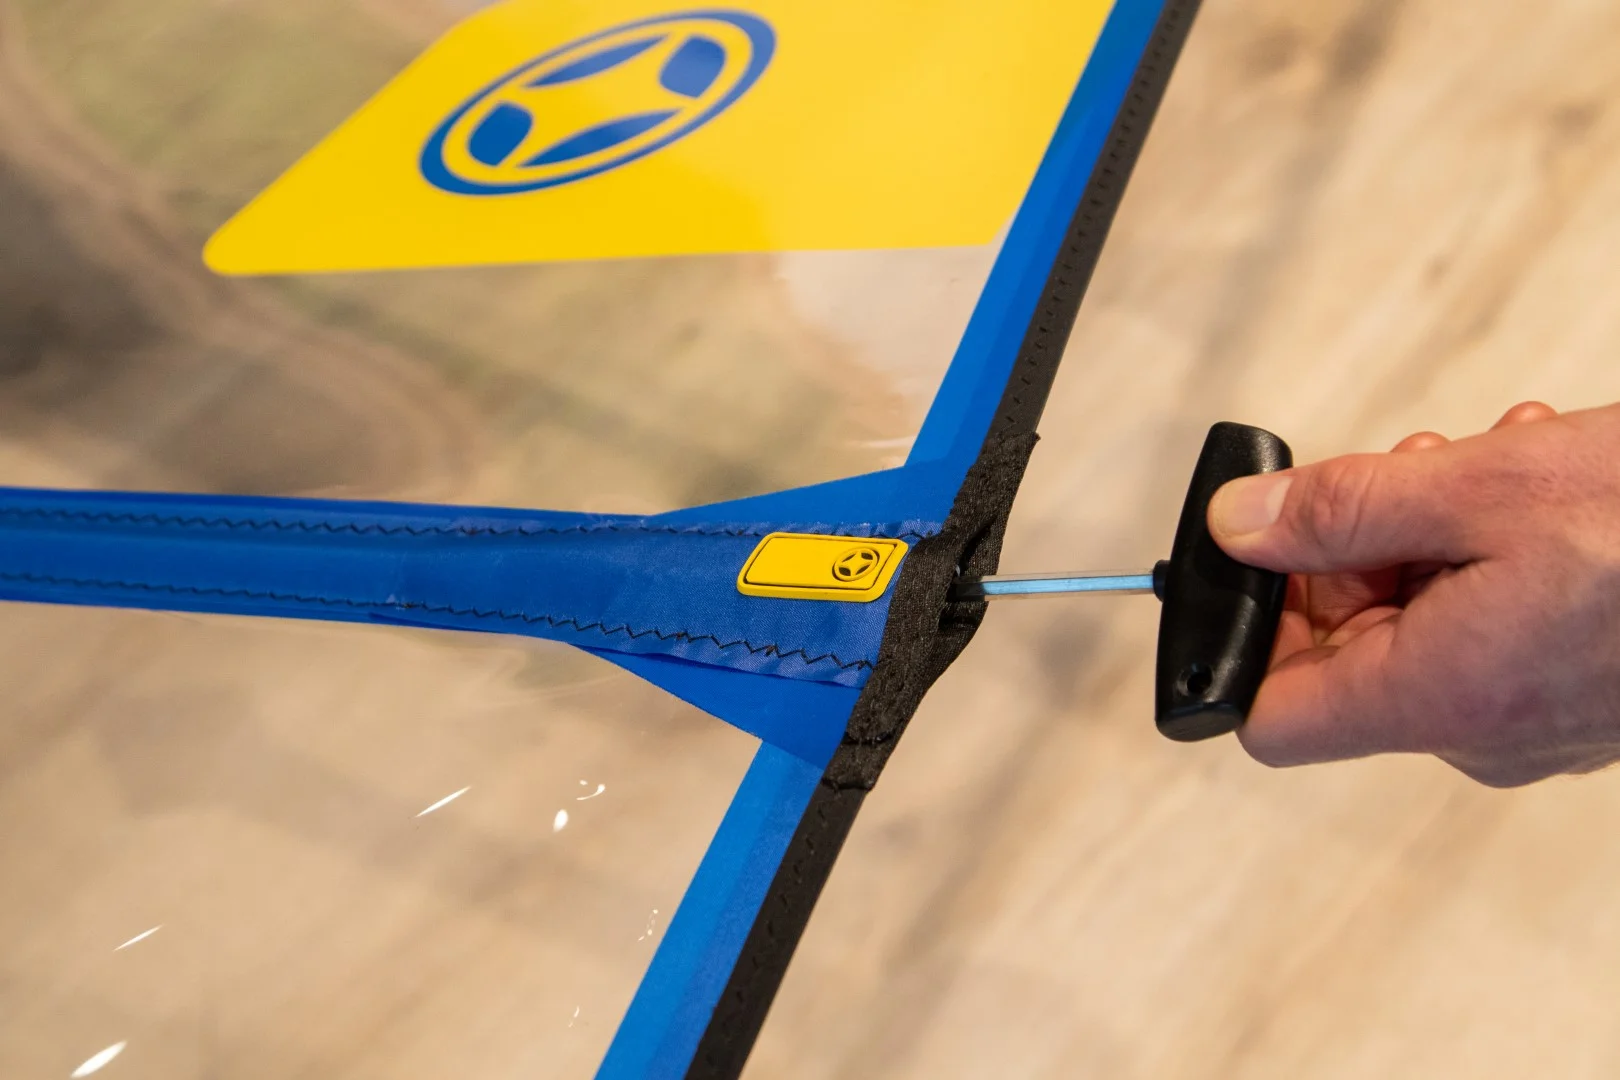
12. When the sail is first rigged it will be necessary to tension the sail battens. You will find the tensioner key in the pouch at the foot of the sail. Turn the tensioner key clockwise until the wrinkles around the batten pocket disappear. There should be light resistance. Do not over tension!
Left: not enough batten tension Right: batten tension is correct
13. Attach the non-elastic end of the uphaul to the small rope on the front end of the boom. Loop the elasticated end around the mast base.
You’re ready to sail!
Derigging:
Follow the rigging steps in reverse order. You can leave the battens tensioned and keep the uphaul attached to the boom.
Fine-tuning:
When you feel that you need more power, you can release some outhaul tension so that the sail has a deeper profile. In stronger winds, or if the sail handling feels heavy, you can increase the outhaul tension to flatten the sail. However, the sail does need some shape! With too much outhaul (too flat) the sail will feel nervous and unstable, or "twitchy".
Maintenance:
Always rig the sail on a gentle surface (grass or sand) and avoid rocks or asphalt, to prevent scratching or damaging your gear.
When your gear is not being used keep it out of direct sunlight. Over-exposure to direct sunlight will shorten the life of the sail.
When your sail is damaged by a puncture wound or small tear, fix it immediately. Take it to a professional repairer; or - for a temporary fix - use Dacron tape or clear monofilm tape as appropriate. Even duct tape is an option if nothing else is available. If you continue to use a sail that is damaged, the tear may spread and become much more difficult to repair.
We recommend letting the sail dry before putting it in its bag. Store the sail in a well-ventilated place.