Sonic Touring Inflatable SUP Board - User Manual
Contents
1 inflatable board
1 double-action pump
1 pump hose
1 fin (21cm), including nut and bolt
1 repair kit
How to set up your board
1. Inflate the board
Unroll the board on a flat surface. Grass is ideal.
If the pin of the valve is not already in the upper position, then lightly push it downwards and twist it to the left or right until it pops up.
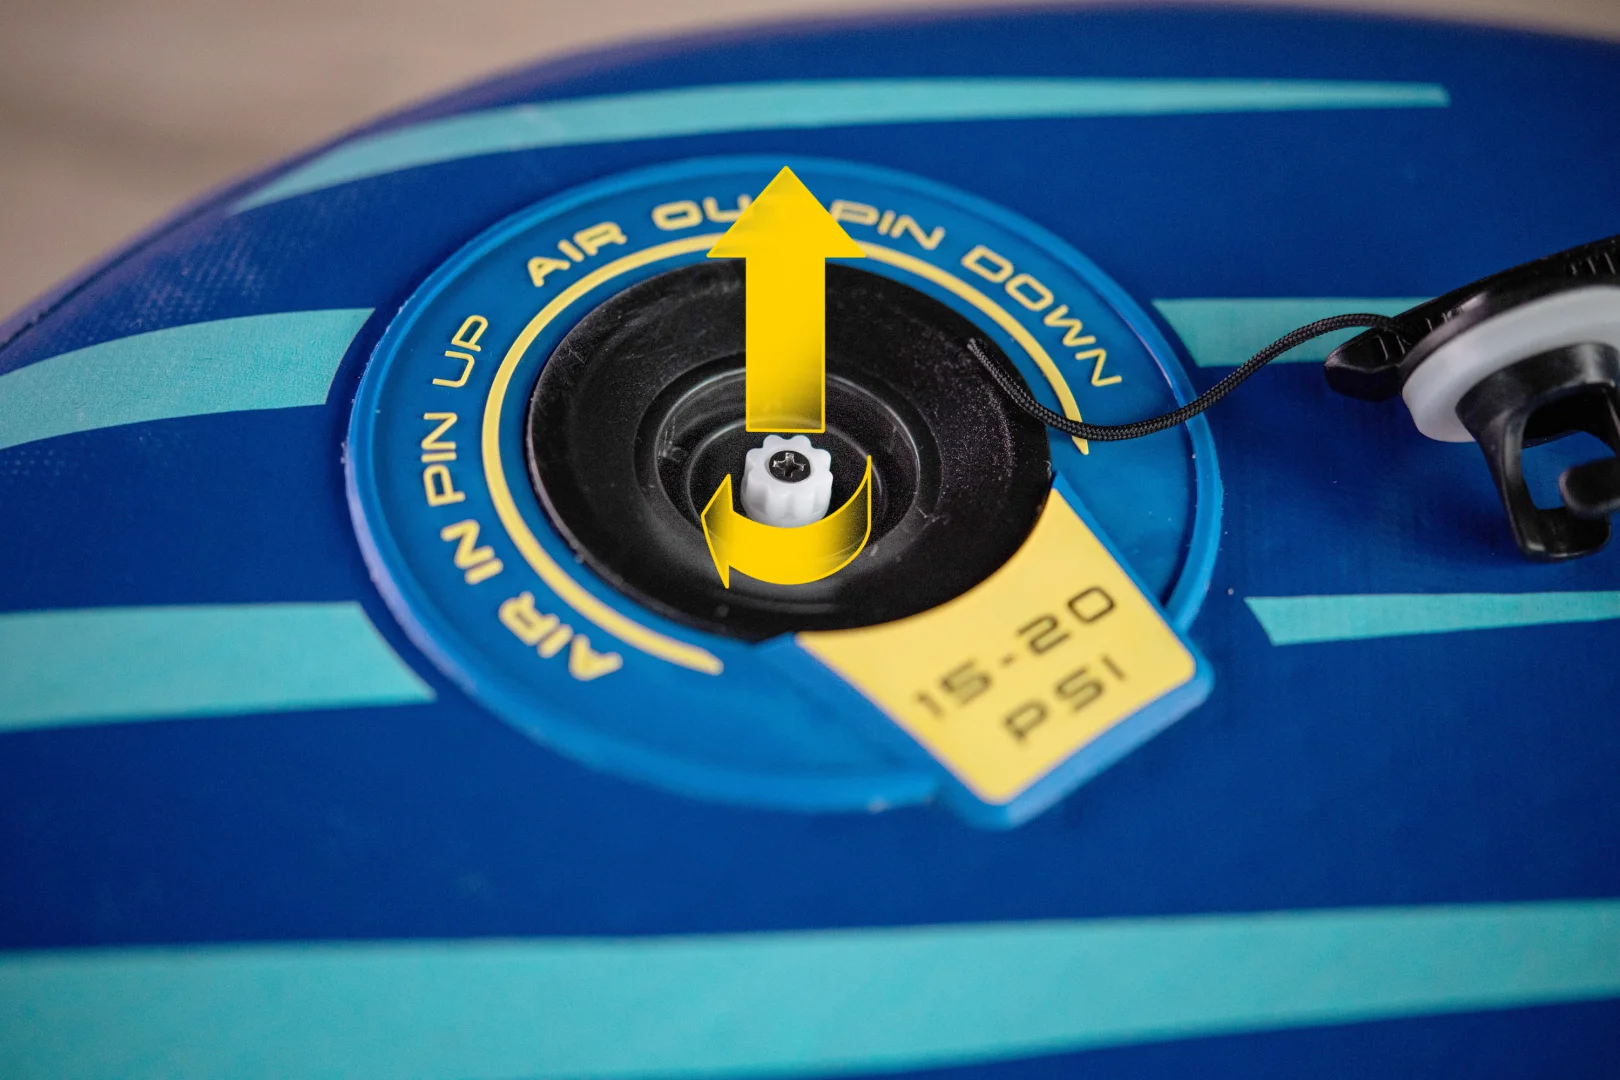
Connect the air hose to the pump and plug the end piece of the hose into the valve of the board. Turn the end piece clockwise to secure the connection.
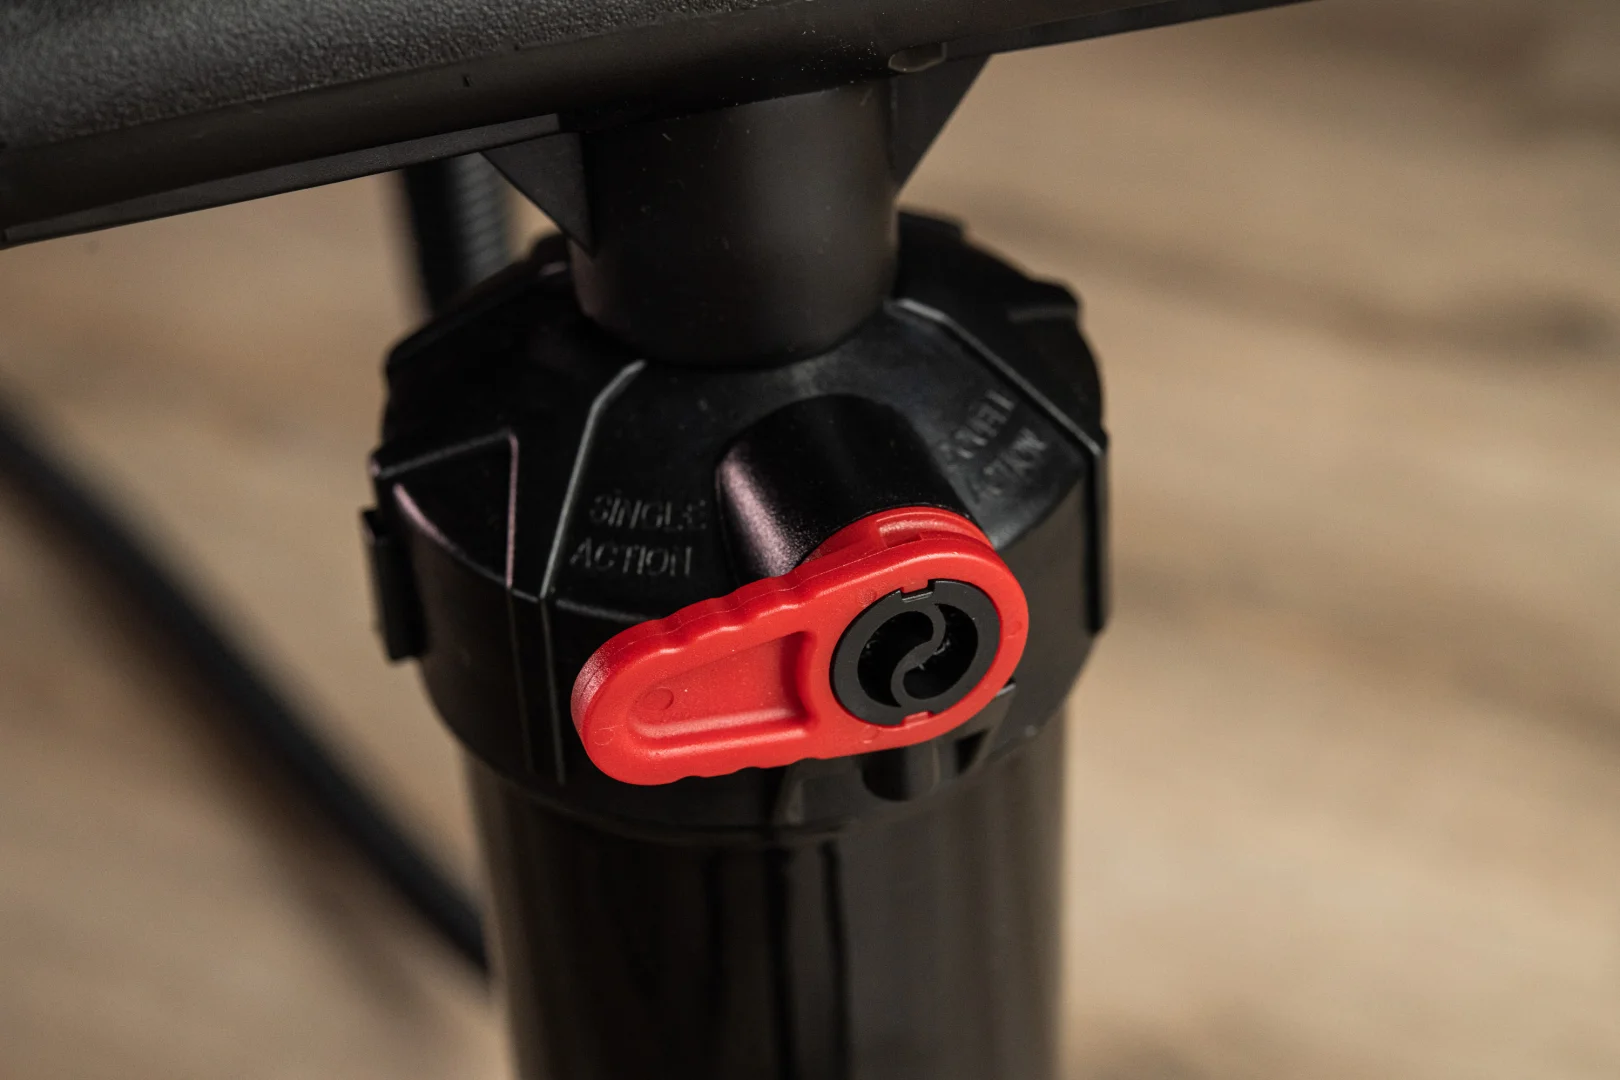
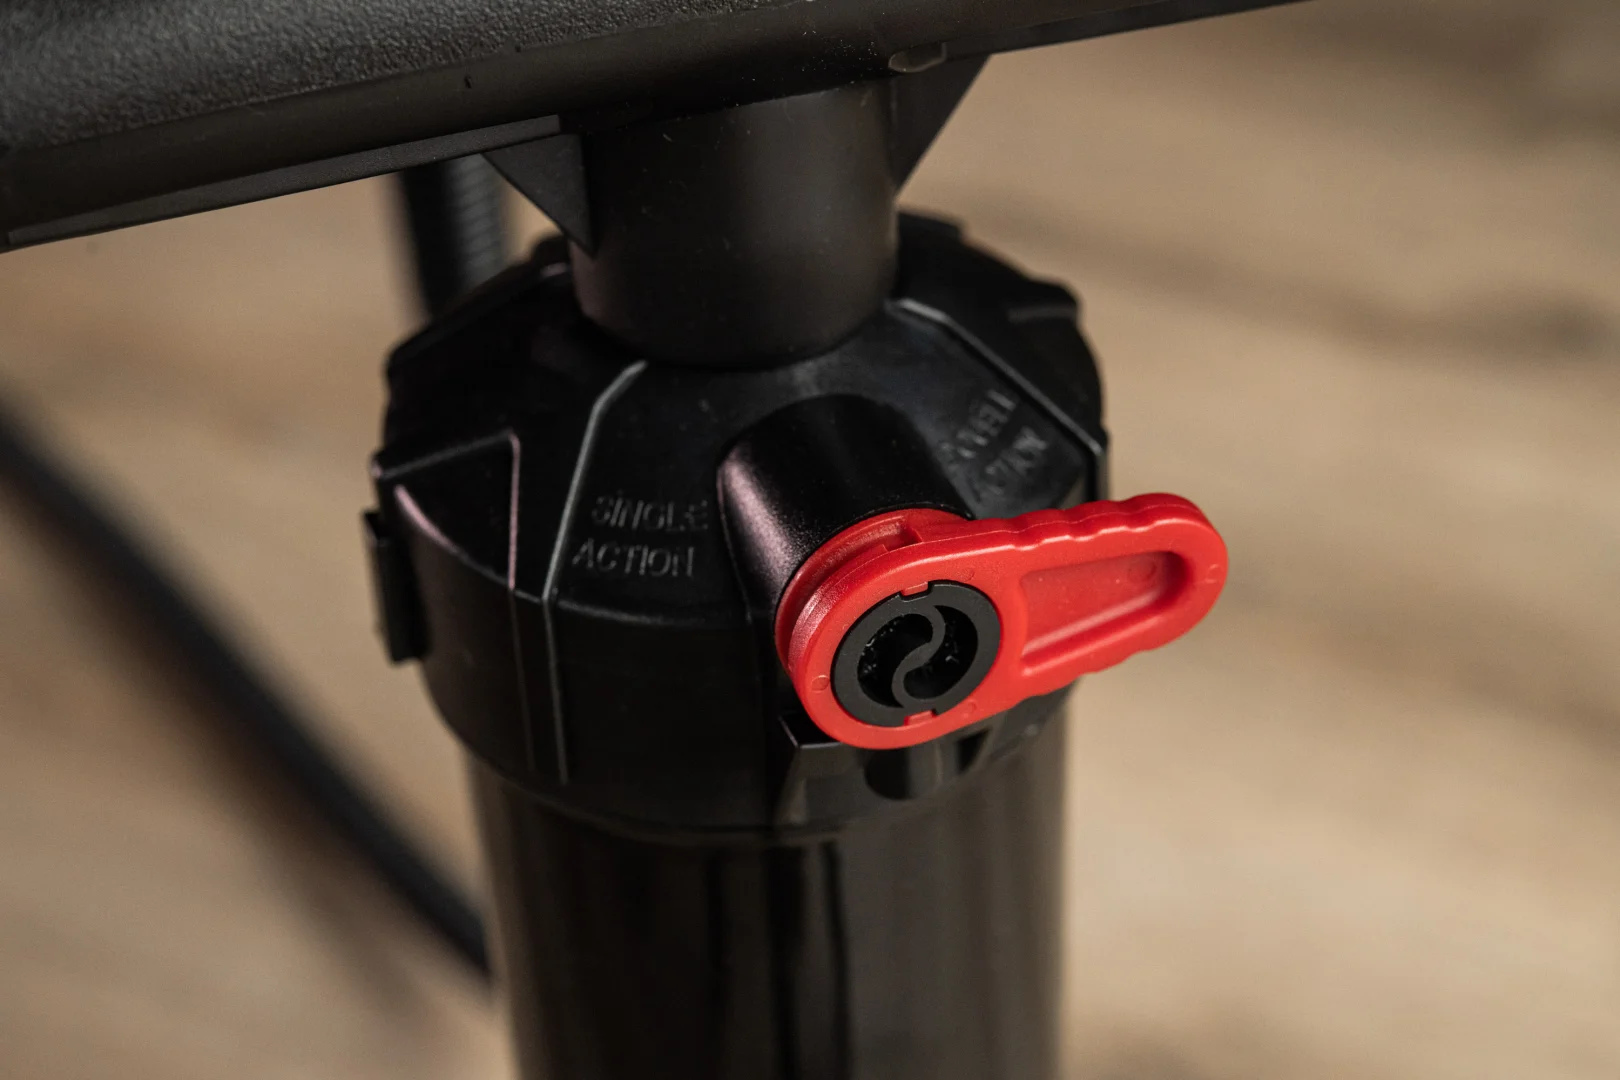
Start pumping. The pump has a lever switch on the main cylinder. Turn it to the right for double stroke action and quick inflation. When pumping becomes difficult, switch the lever to single action for easier inflation. Inflate the board to the pressure indicated on the valve (SL boards: max 15 psi; FCD boards: max 15-20 psi).
Disconnect the pump from the board and replace the valve cap.
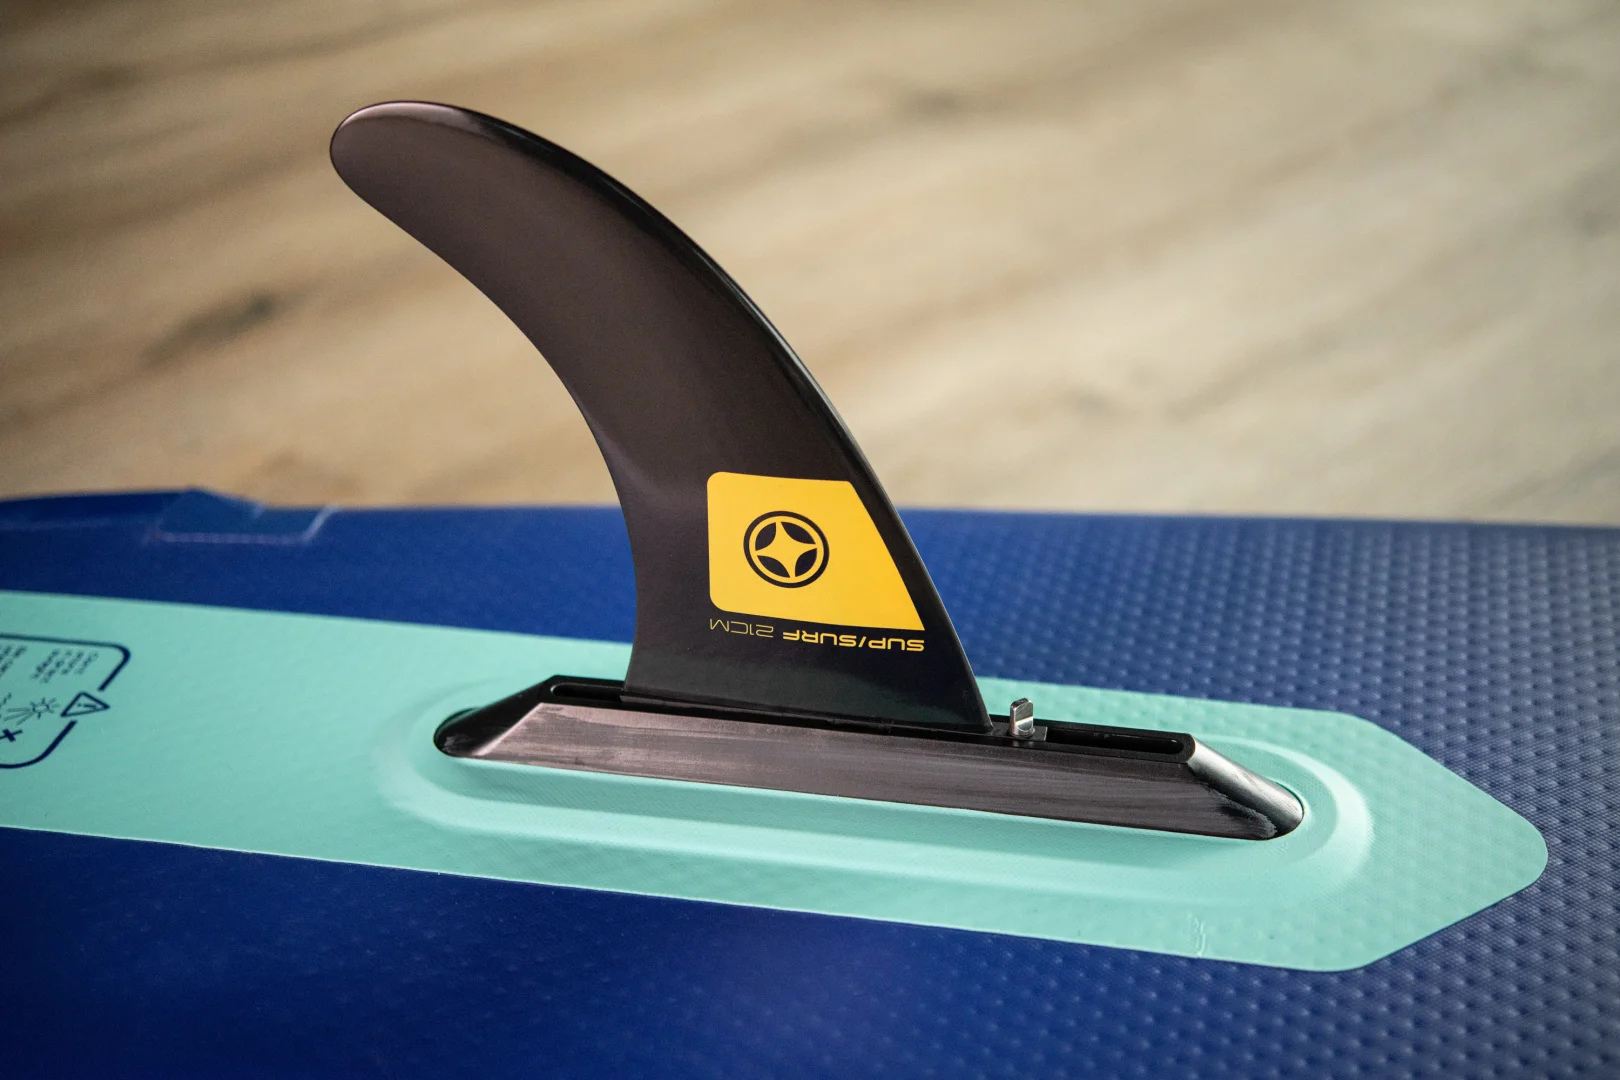
2. Mount the fin
Flip the board upside down.
Connect the end of the fin bolt to the square nut and use it to slide the square nut to the front end of the fin box.
Place the lug of the fin (the metal pin) in the fin box and slide the fin backwards. Push the entire fin base into the fin box.
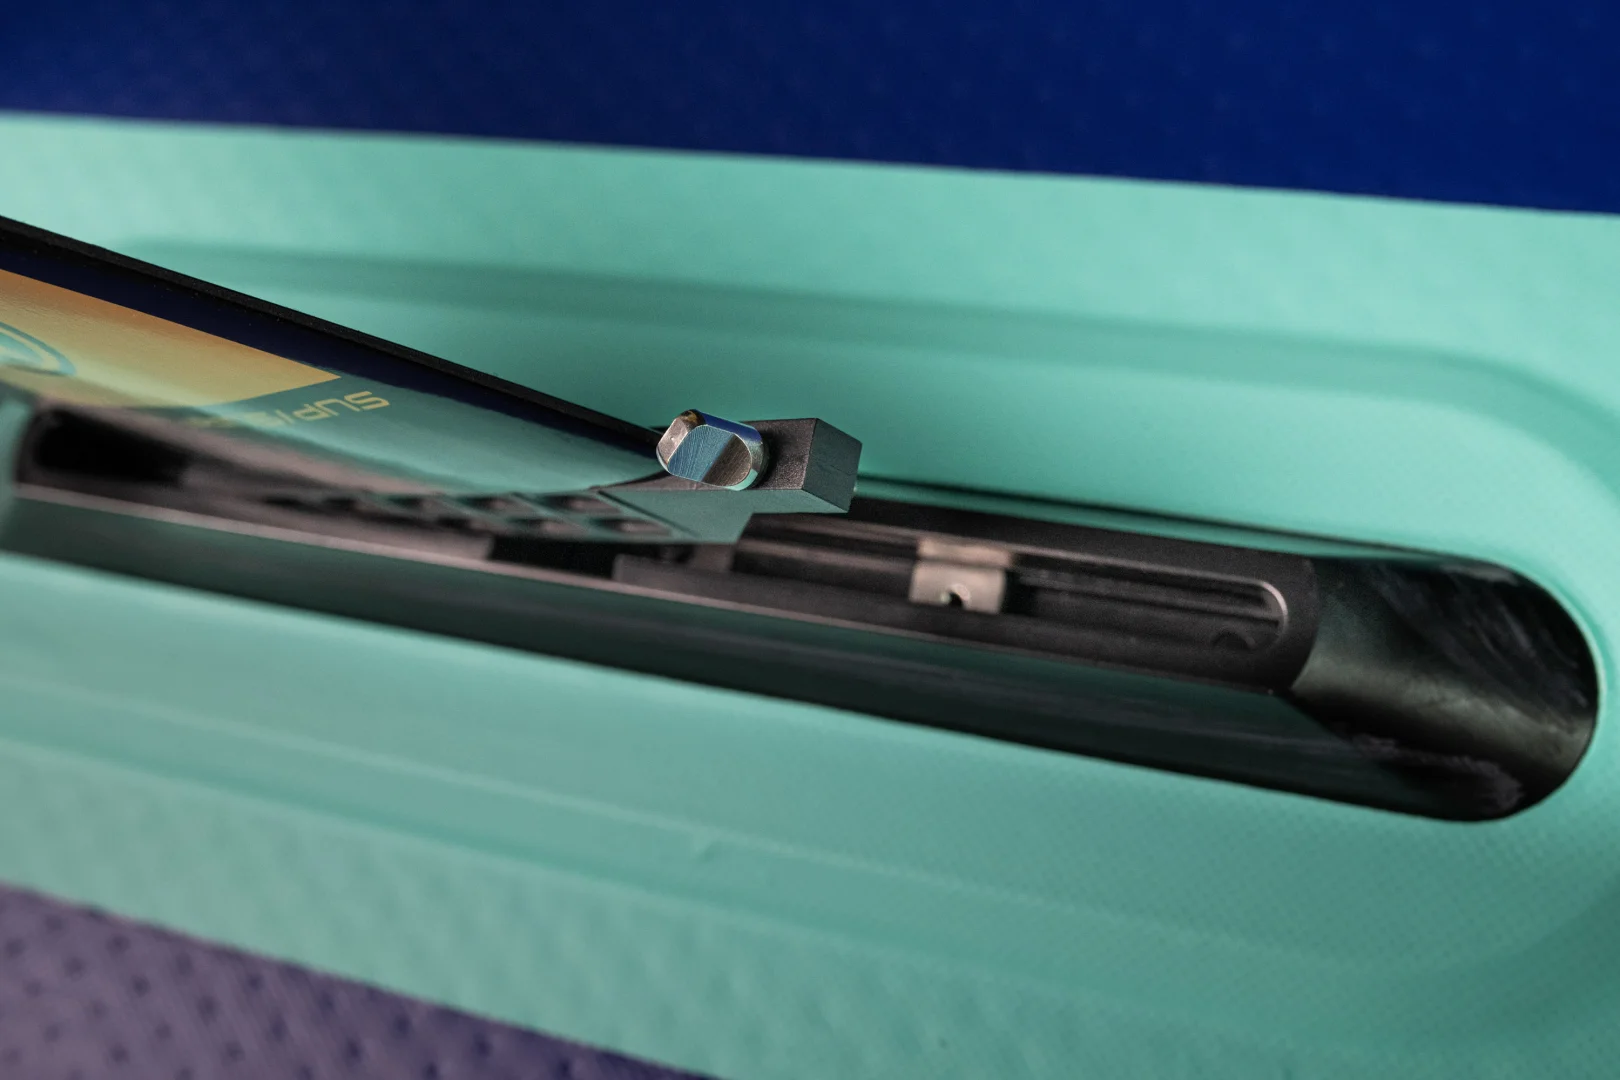
Slide the square plate directly below the hole of the fin base. Secure the fin with the fin bolt. Tighten with finger and thumb.
How to pack up your board
1. Deflate the board
Place the board on a flat surface.
Take off the valve cap.
Push the valve pin down and twist the pin so that it stays down.
Warning! The air comes out with a powerful blast!
Deflate the board as much as possible.
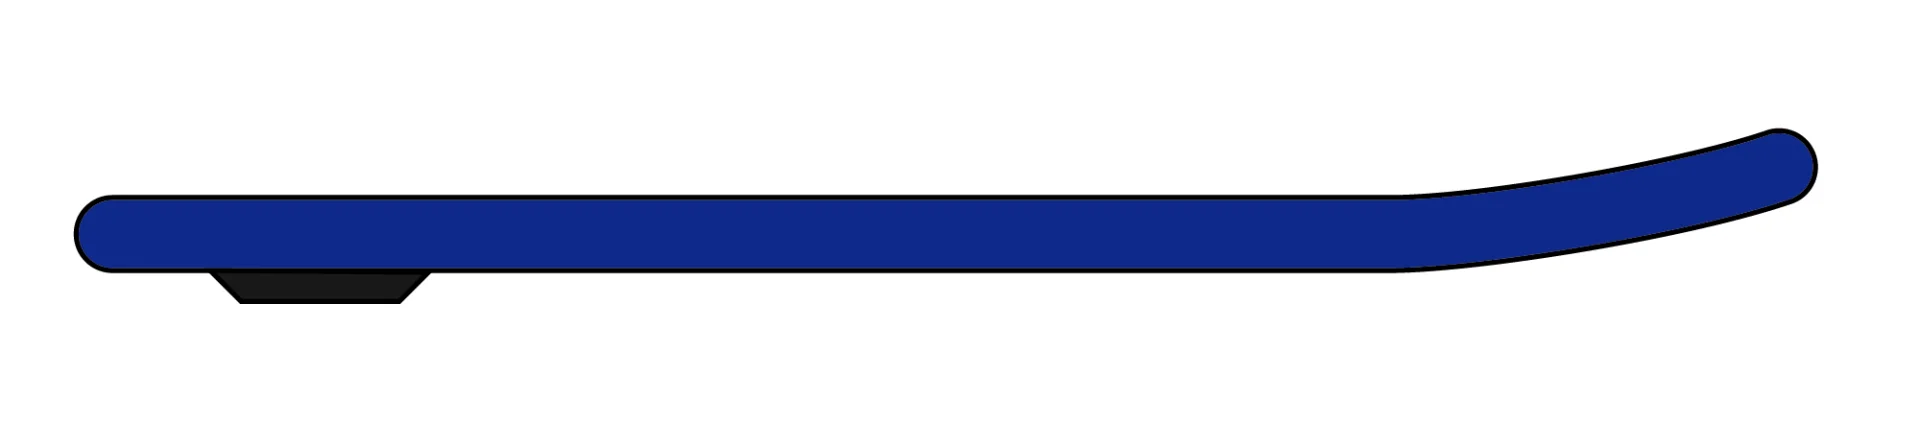
2. Fold up your board
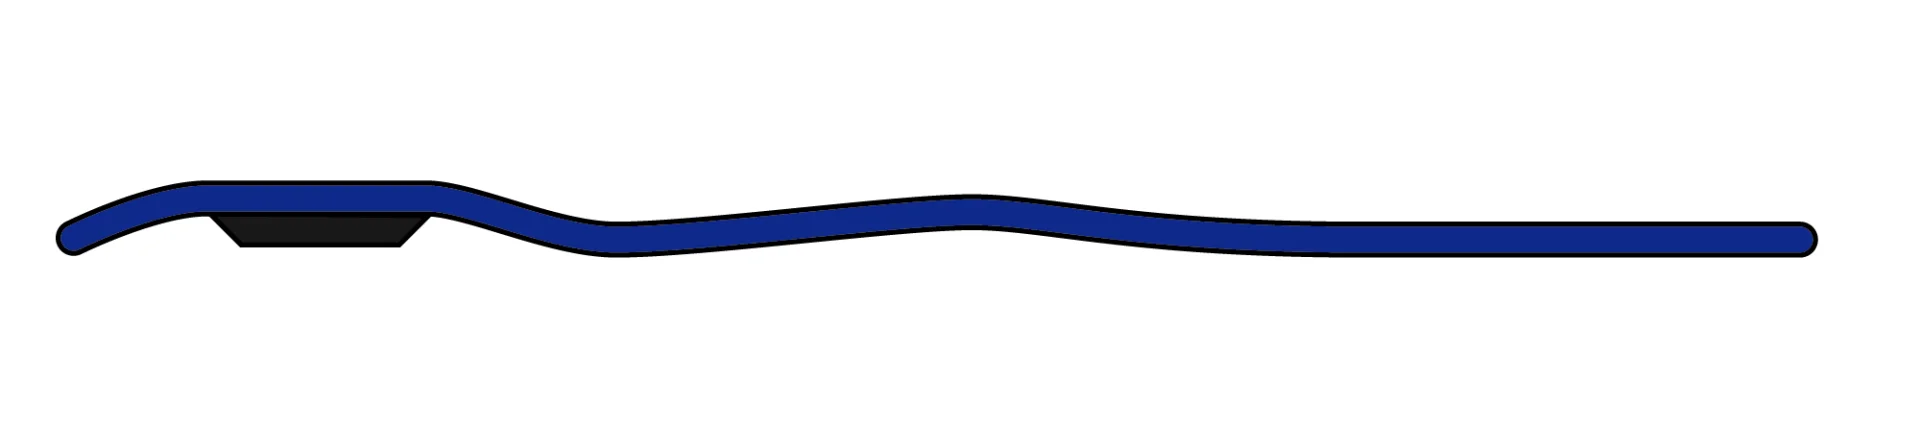
Start at the nose of the board. Adjust the width of the folds so that rolled-up part ends up positioned just before the finbox.
Fold one more time and fold back the last part.
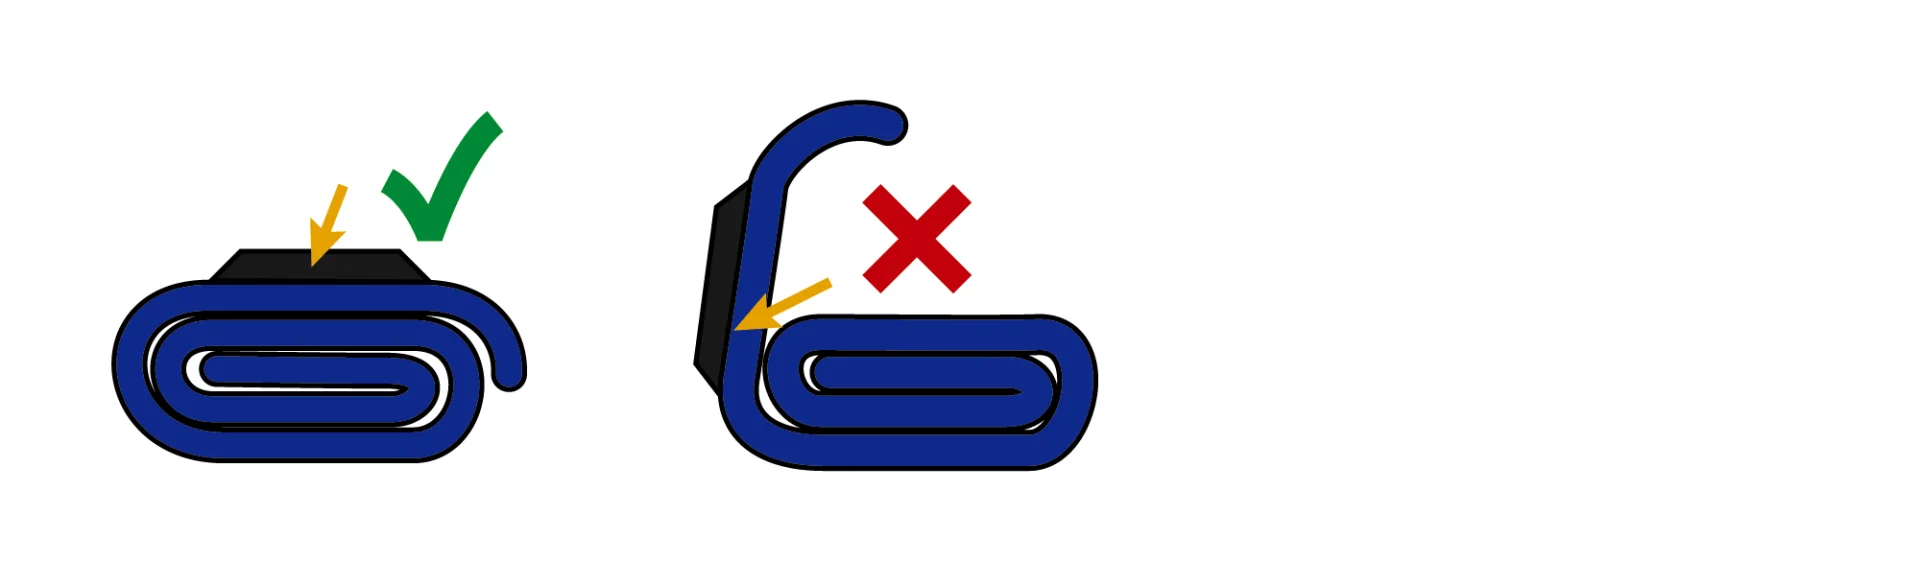
Make sure that the finbox lies on the flat side of the roll.
3. Put the board inside the backpack
The easiest way is to stand the rolled-up board on end and pull the backpack down over it.
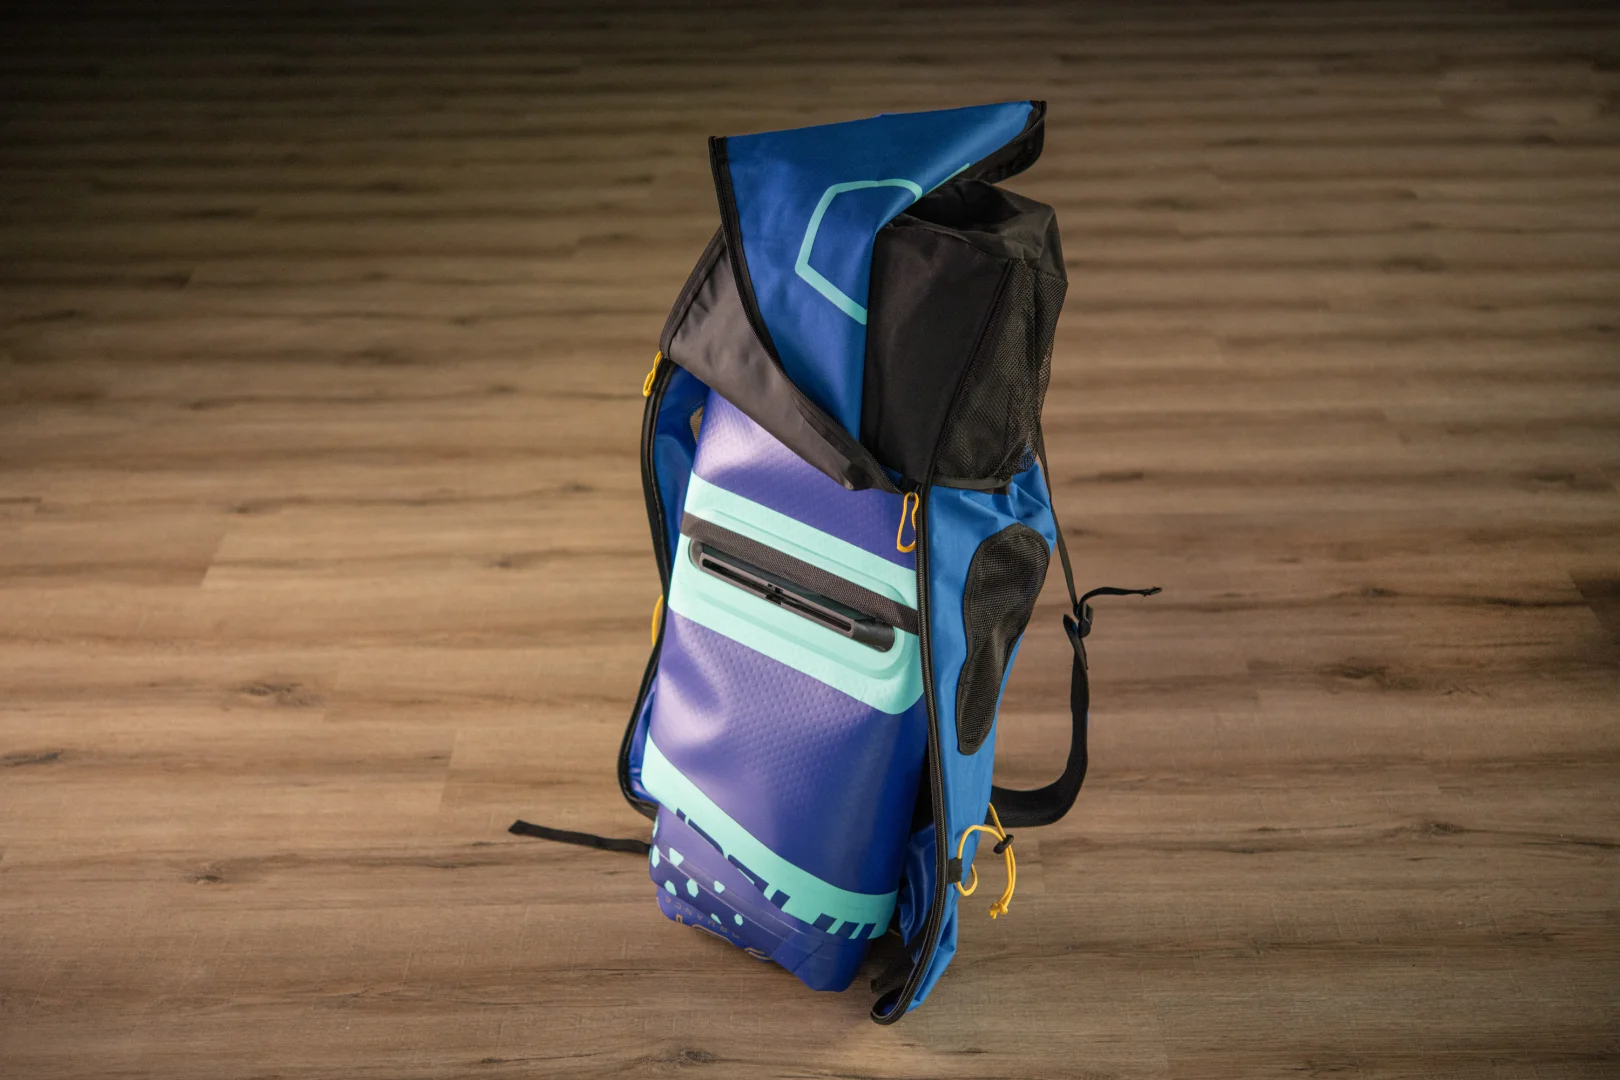
Secure the board with the strap inside the backpack.
Care and maintenance
- Avoid rocky terrain and asphalt. Grass and sand are ideal surfaces for inflating/deflating your board.
- Keep the board out of direct sunlight when not in use. Direct sunlight can heat up the air in the board and increase its pressure beyond the design limit.

- Make sure there is no sand inside the valve.
Problem: The valve is leaking air.
Solution: Tighten the valve connection using supplied valve wrench (in the repair kit).
- Deflate the board.
- Put the wrench head into the valve.
- Turn the wrench clockwise to tighten the valve connection. Not too tight!
Problem: The board is punctured.
Solve: Repair the puncture using the supplied repair kit.
- Clean the area around the puncture with alcohol, acetone, or soap. If soap is used, rinse afterwards with fresh water. After cleaning, ensure that the affected area is completely dry.
- Cut an appropriately sized patch from the repair kit material. Allow approximately 5 cm around the puncture. Leave the corners rounded.
- Put the patch on the board (without glue!) and draw a line with the pencil around the patch.
- Apply a thin layer of glue to both the patch and to the board inside the marked area. Spread the glue evenly.
- Let the glue dry for 10 minutes.
- Place the patch on the repair area and apply pressure.
- Use a hair dryer to gently heat the repaired area.
- Apply firm pressure.
- Let the glue dry for 24 hours.
Enjoy responsibly!
This inflatable board is meant for practicing the sport of stand-up paddling or just having fun on the water. It is not a lifesaving device. We recommend use of a Personal Flotation Device. Before going afloat, inform yourself about the weather and water conditions. Strong winds or strong currents can lead to life threatening situations. Stay off the water when a thunderstorm is nearby.